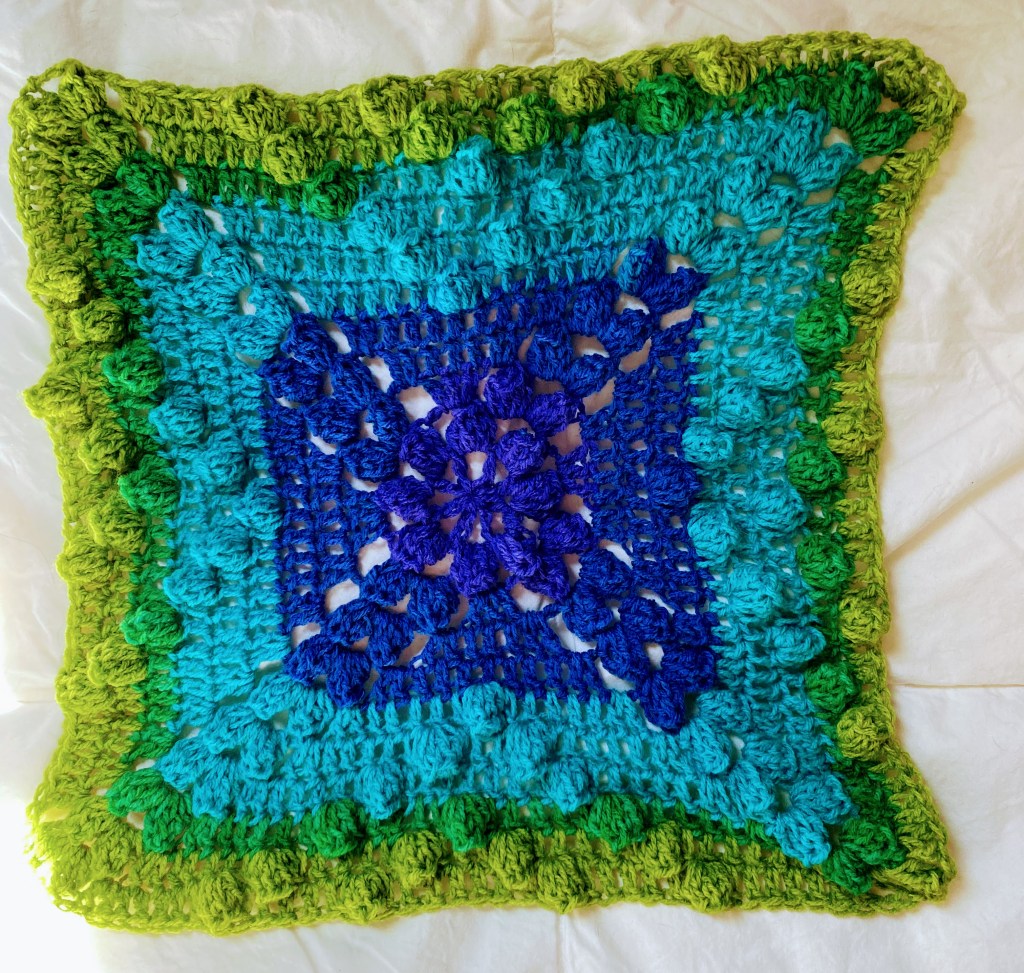
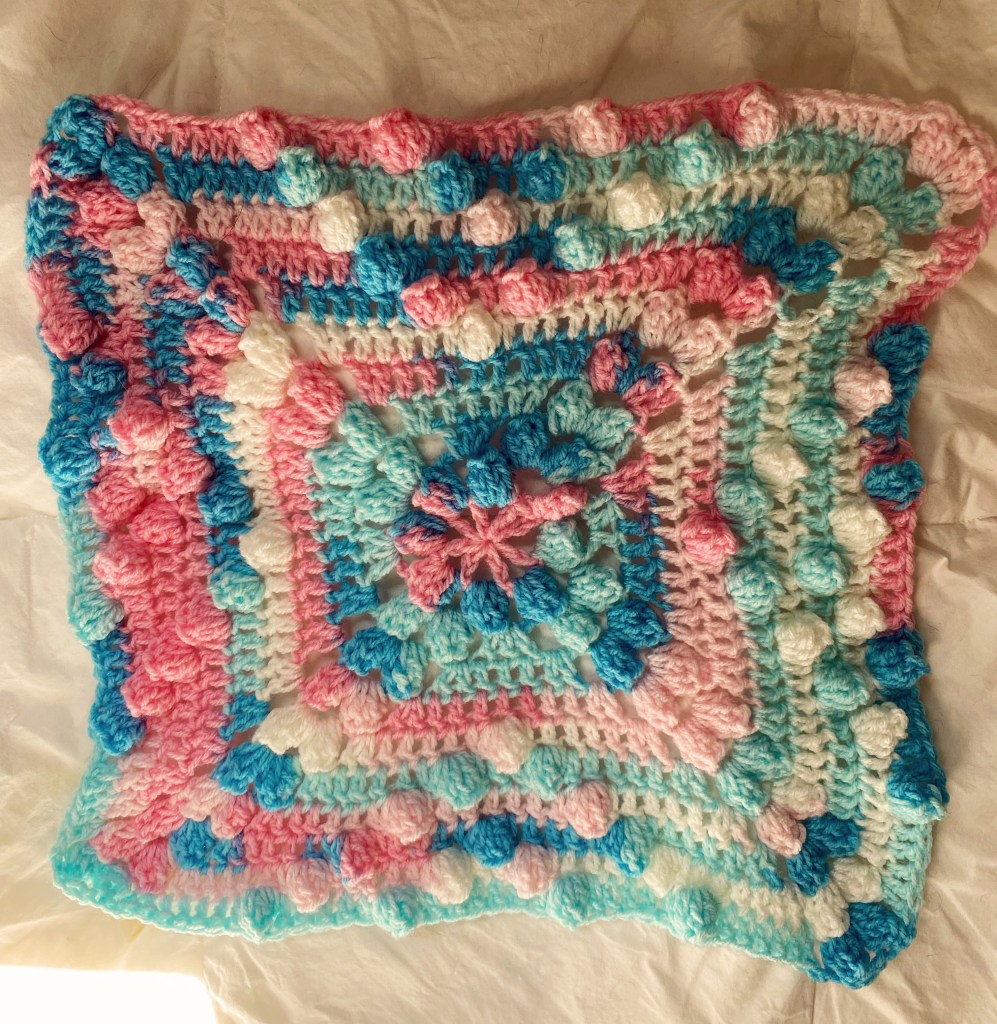
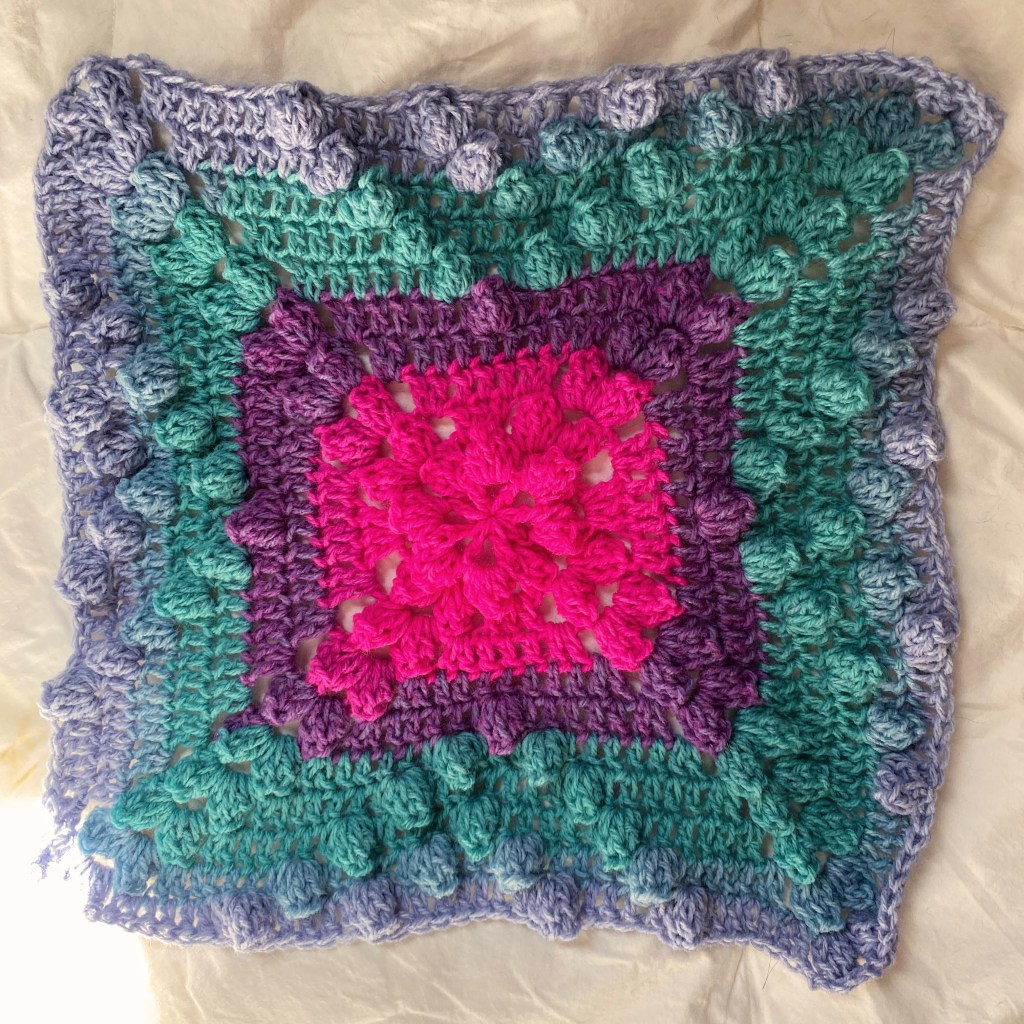
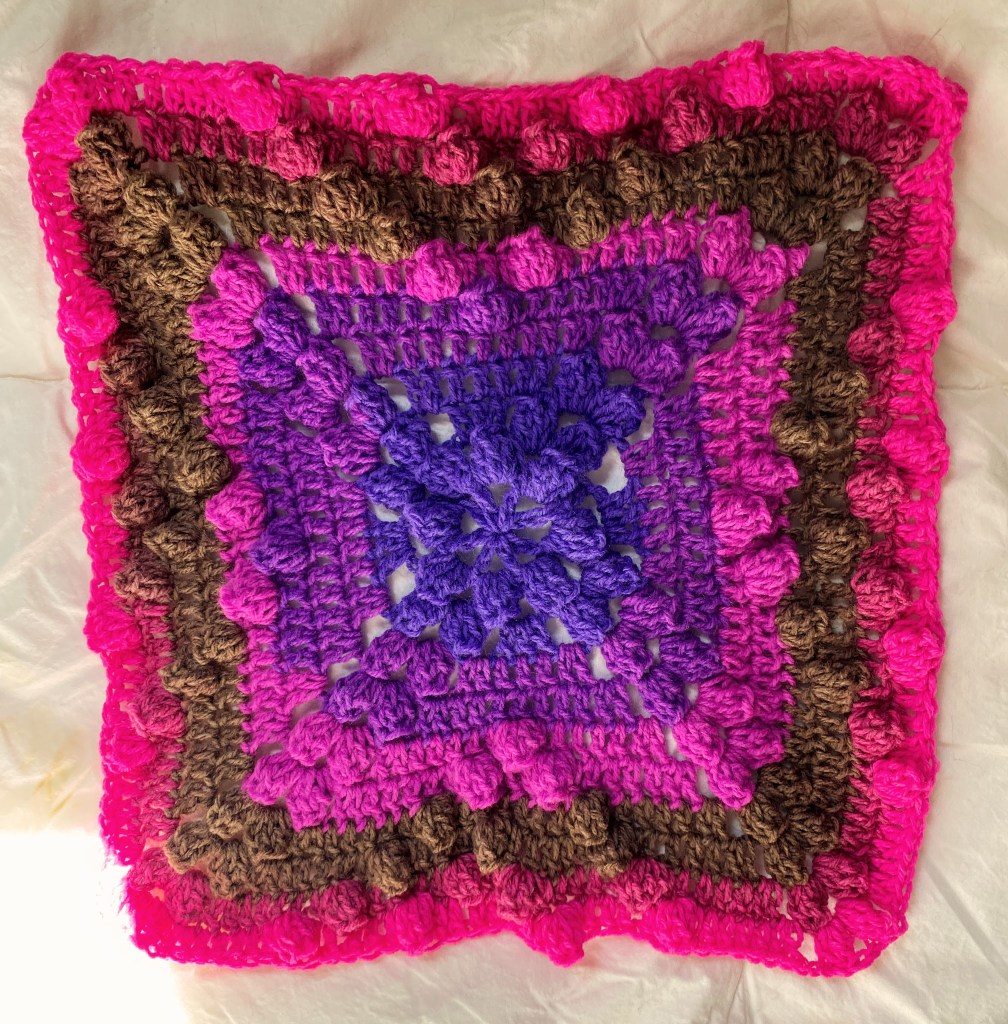
I’m Baaaack! 💖

The Juniper Cowl by @tlyarncrafts

Hi everyone! It has been a long hiatus. Too long. I missed posting and reading your comments. I wouldn’t have stayed away so long, but a few things got in the way. This has been a rough year for me and my husband. The biggest issue this year has been our health. (Warning: This blog installment won’t be about crochet today. )

In August, my husband was diagnosed with throat cancer–not long after he retired. He began 5 weeks of intensive treatment of radiation and chemotherapy in September and finished the second week of October. Then came the recovery. In some ways, I believe the recovery was worse than the treatment. I won’t go into all the gory details but I will say his energy level became even worse during recovery. It was scary for me because the life was just gone from his eyes. I hope I don’t have to see that again anytime soon! The good news is, he has a final PET scan in January to determine the effectiveness of the treatment. But so far, his radiation doctor told him he is 99% sure the treatment worked. We are crossing our fingers until then and are mostly optimistic. Other than some loss of taste, he is basically back to his old self. We were able to celebrate Solstice with our kids last weekend and it was such a good time.

I have had my own health concerns as well. I believe I wrote a few months back about a mystery illness I experienced after a COVID booster in June. I had a brief resurgence of symptoms during the fall. I discovered by accident the symptoms although were consistent with an immune response to the the booster were linked to issues with my spine. I have scoliosis and while it could be considered a mild case, the symptoms as one gets older and without maintenance are quite troublesome and painful. However, I had begun care with a chiropractor that understands Scoliosis and provides the Graston technique — https://youtu.be/9Kl7lMCtBUI She has been of great help to me. I’m also utilizing deep tissue massage and later will go to physical therapy. I used to think massage was a luxury. But for me, it’s a foundation of caring for a body that is compromised by musculoskeletal issues. I wish I would have known when I was younger to address my spinal needs sooner. But unfortunately none of the health professionals I’ve encountered thought it important to address with me. I just put up with the pain. So, I want to share, if you have back problems, do whatever you need to and can to take them seriously! The tissues in the fascia and the nerve connections have a great impact on your bodily functions. I am realizing now they probably have been part of a chronic gut health issue for me.

As if that wasn’t enough, our house wasn’t doing so well either. It is a 100-year-old structure and that means we have to put up with a few things and can’t skate along on the maintenance. But this year, some major issues came to a head. We had planned to overhaul the electrical system as most of it was installed 100 years ago. We knew that would be expensive. We had a wonderful electrician help us and so far so good. But the plumbing decided it wanted some attention too.

The bathroom and the kitchen have both had lots of issues, including the shower and sink waste piping wasn’t properly connected and the grey water was spilling out under the house! The took several days to address. But the worst was a few weeks ago. Our kitchen sink was perpetually slow draining. We had tried a drain cleaner but it didn’t seem to work. I went to the hardware store to find another to try. I decided to buy one that was “environmentally friendly.”

My husband started pouring it down the drain and it made a huge popping sound, not unlike an explosion, and a black cloud billowed from the drain. Naturally, we were frightened, but the sink problem had been so bothersome, we persisted. I know, not the brightest thing, but you have to consider we had such plumber fatigue. They had been out to our house probably half a dozen times this year for various problems. Anyway, my husband succeeded in getting all the solution poured, but in a few minutes, the foulest stench started coming out of the drain. It was so bad, we put our masks on but it really didn’t help. We got out our larger fans and opened the doors hoping it would kick the nasty odors to the curb. But even with the fans on full blast, we couldn’t get a break from the smell. It even started issuing from the drains in the bathroom. Considering the bathroom is at one end of the house and the kitchen at the other, we were being attacked from both ends!

Oh, and I forgot to mention this was at 11 pm. Not only was it dark, but it was cold and raining. My husband was following the directions to pour the volatile mixture down the drain before going to bed. I was exhausted after an hour of this and decided I would probably fall asleep, smell or no smell. Thankfully, the bedrooms had escaped most of the hellish aroma.

The next day, the smell was gone. I looked at the directions on the bottle and there was a vague reference to covering the drains with a heavy pan but no explanation as to why. We finally somehow figured out the smell must have come from the clogged drain because the solution was virtually odorless. Anyway, after all that, the drain had the impudence to still be clogged!! We resentfully acquiesced that we would have to call the plumber after all.

Later, after one failed plumber visit, the second plumber successfully snaked the pipe but informed us it is slowly failing as there are holes in it and will have to be replaced. Because of how the drain is situated, under a concrete pad beneath the middle of the house, our nice hardwood floors (the one in the kitchen is relatively new) will have to be pulled up and the concrete jack hammered at some point. I think I am in shock as I write this because my brain still can’t wrap around it.

I know, at this point, you might be thinking, “Why don’t they move?” It’s probably what most reasonable people would think and do. But being the mildly eccentric people we are, it’s not something we can consider at this point.

For all its problems, we do love this place. It actually wasn’t built as a house. It is an old Masonic Lodge. The original Masons wound up consolidating with another group in the next small town over. My husband bought it quite cheaply in the 90s when it had been mostly abandoned.

The upstairs is still set up as their big meeting hall with a stage and lots of open space. We held out marriage reception there complete with a band. This is the place we both do our creating. My husband is a musician and now that he’s retired and recovered, he is setting up a recording area. While I have my office at the other end where I see clients via telehealth. I also have a sewing area in another corner and do all my crochet blocking in this area. I can grow our garden seedlings in the south facing windows. It’s got a lot of stuff strewn around (lack of storage cabinets) and if we ever get it sorted better, I will post some photos.

Well….I know I have gone on for awhile about our problems this year. If you have hung in this far, thank you! I promise the next installment will be crochet related. How has your year been?

I wish you a peaceful and pleasant Holiday, however you celebrate it.

Here’s to a better 2023!

Crochet Helps Me Cope

Hi friends,

It’s been a while. Normally, I like to post more regularly, however I have been sick for a month now. This is unusual for me, and it has been a miserable and trying time. I’m not out of the woods yet, but with help from some alternative treatments and my naturopath, I’ve got enough energy and pain relief to make a post today.

Briefly, the doctors don’t know exactly what’s wrong. I’ve unfortunately contracted a “mystery illness.” However, they have speculated and the theory that makes the most sense to me for quite a few reasons is I’ve had a nasty reaction to a COVID booster. (I’m not making any political statements here, merely explaining what I’ve been going through, so I would appreciate it if you would refrain from comments, pro or con, about vaccinations or COVID. I will delete those that insist on airing their opinions on this topic. This is a crochet blog after all. Thank you for your understanding!) I’ve spent a lot of time on the couch, going back and forth to the doctor, the ER, and feeling discouraged/scared/worried. It seems as if I might be making progress though. I’m going to keep on with the treatments that seem to be helping.

On that hopeful note, I thought I would share the project I’ve been working on that is helping me cope during this very rough time.

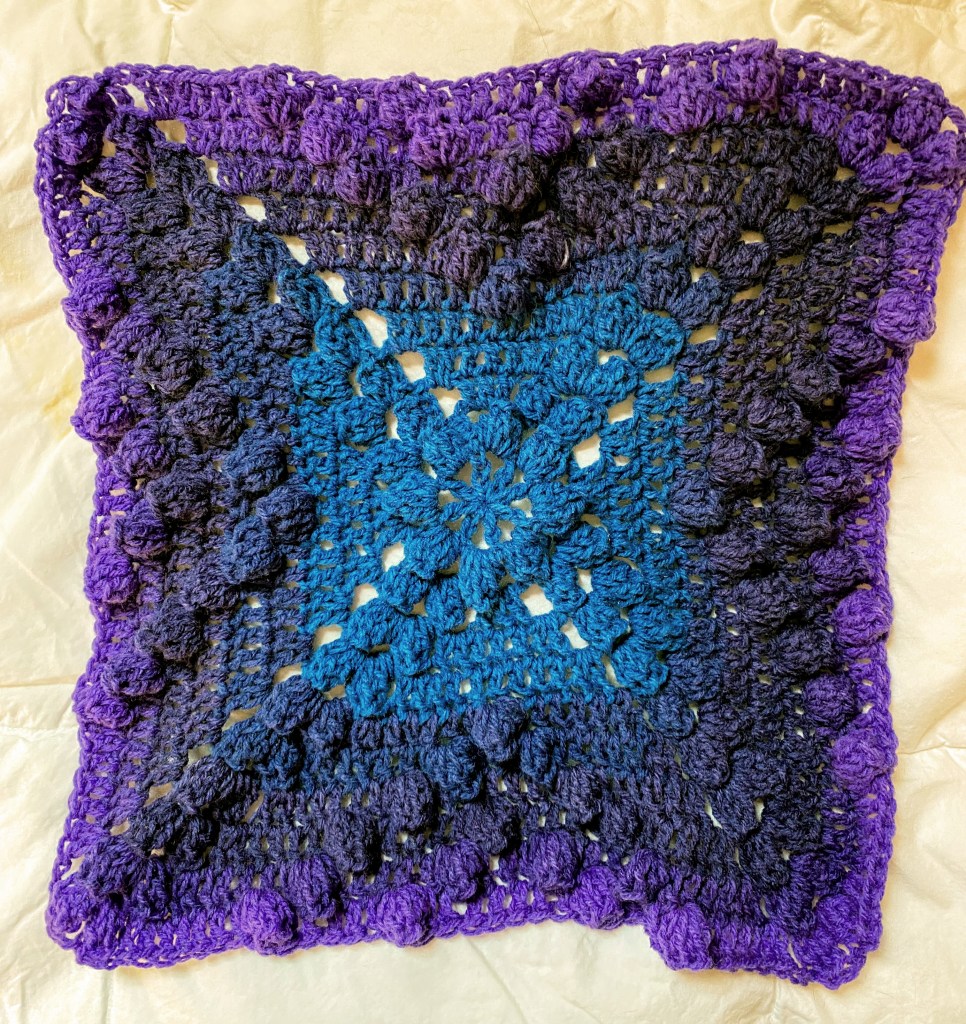
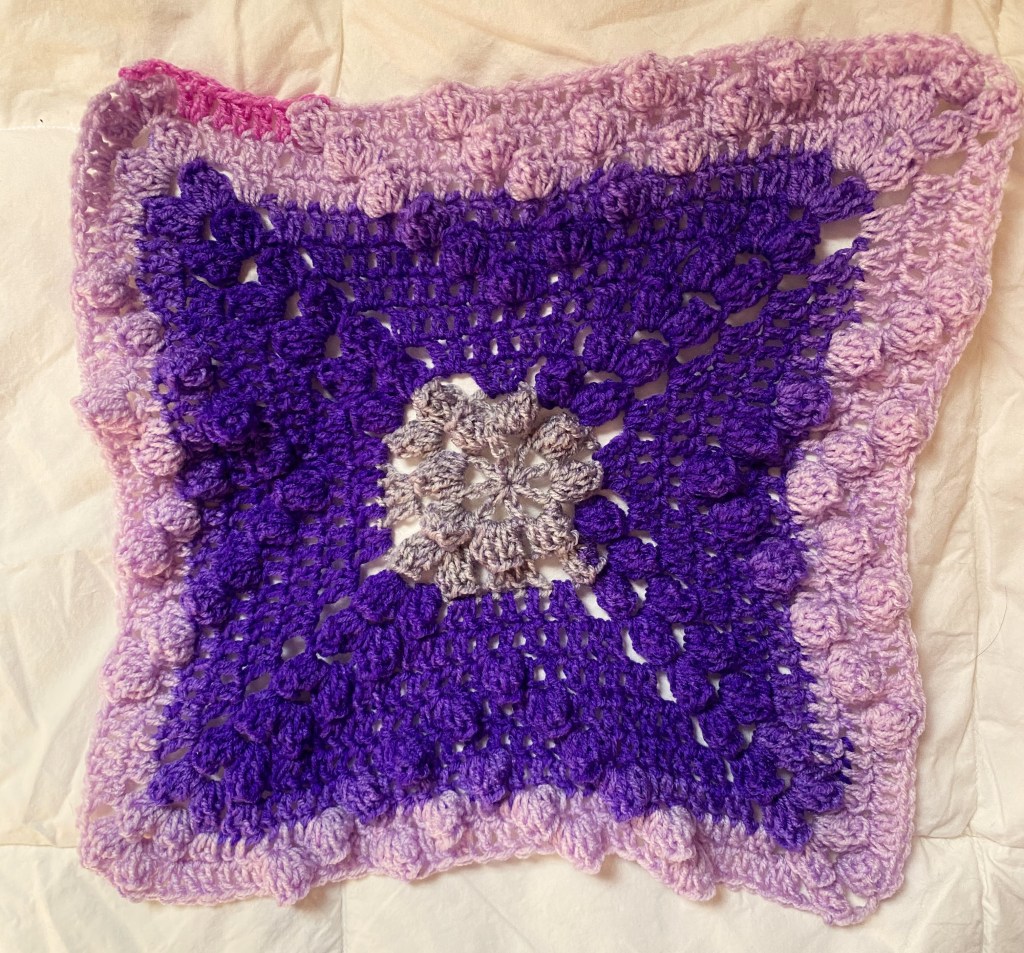
I’ve been crocheting the squares for the Fenya Blanket by Dragana Savkov Bajic of Dadas Place. (On her blog the blanket is listed as a free Vintage Style Crochet Blanket. On the paid pattern, the name of the blanket is listed.) I’ve had this pattern in my queue for years and I’m so glad I got around to making it. It’s happily using up quite a bit of DK yarn in my stash and so my blanket will be a scrappy and very colorful one! (Keep in mind these squares need to be blocked!)
The designer has included a large number of pictures to help explain the instructions. However, I found using the chart to be easiest to follow. Once you understand the pattern of the squares, there’s not too much thinking involved. It’s this wonderful ease and repetition I needed while coping with my illness. It has been so comforting as it keeps my mind off unproductive worrying.

In the past, when I read a post about crochet pieces being a “friend” I thought it was a little corny. I have understood crochet to be a wonderful stress reliever as it helps me unwind from a long day working in my private practice as a mental health therapist. But after what I’ve been through over the last month, I most certainly consider this project a friend!

I would be interested to know what projects have helped you get through a difficult time.

Kitty Couch FINISHED! (A happy and sad post.)

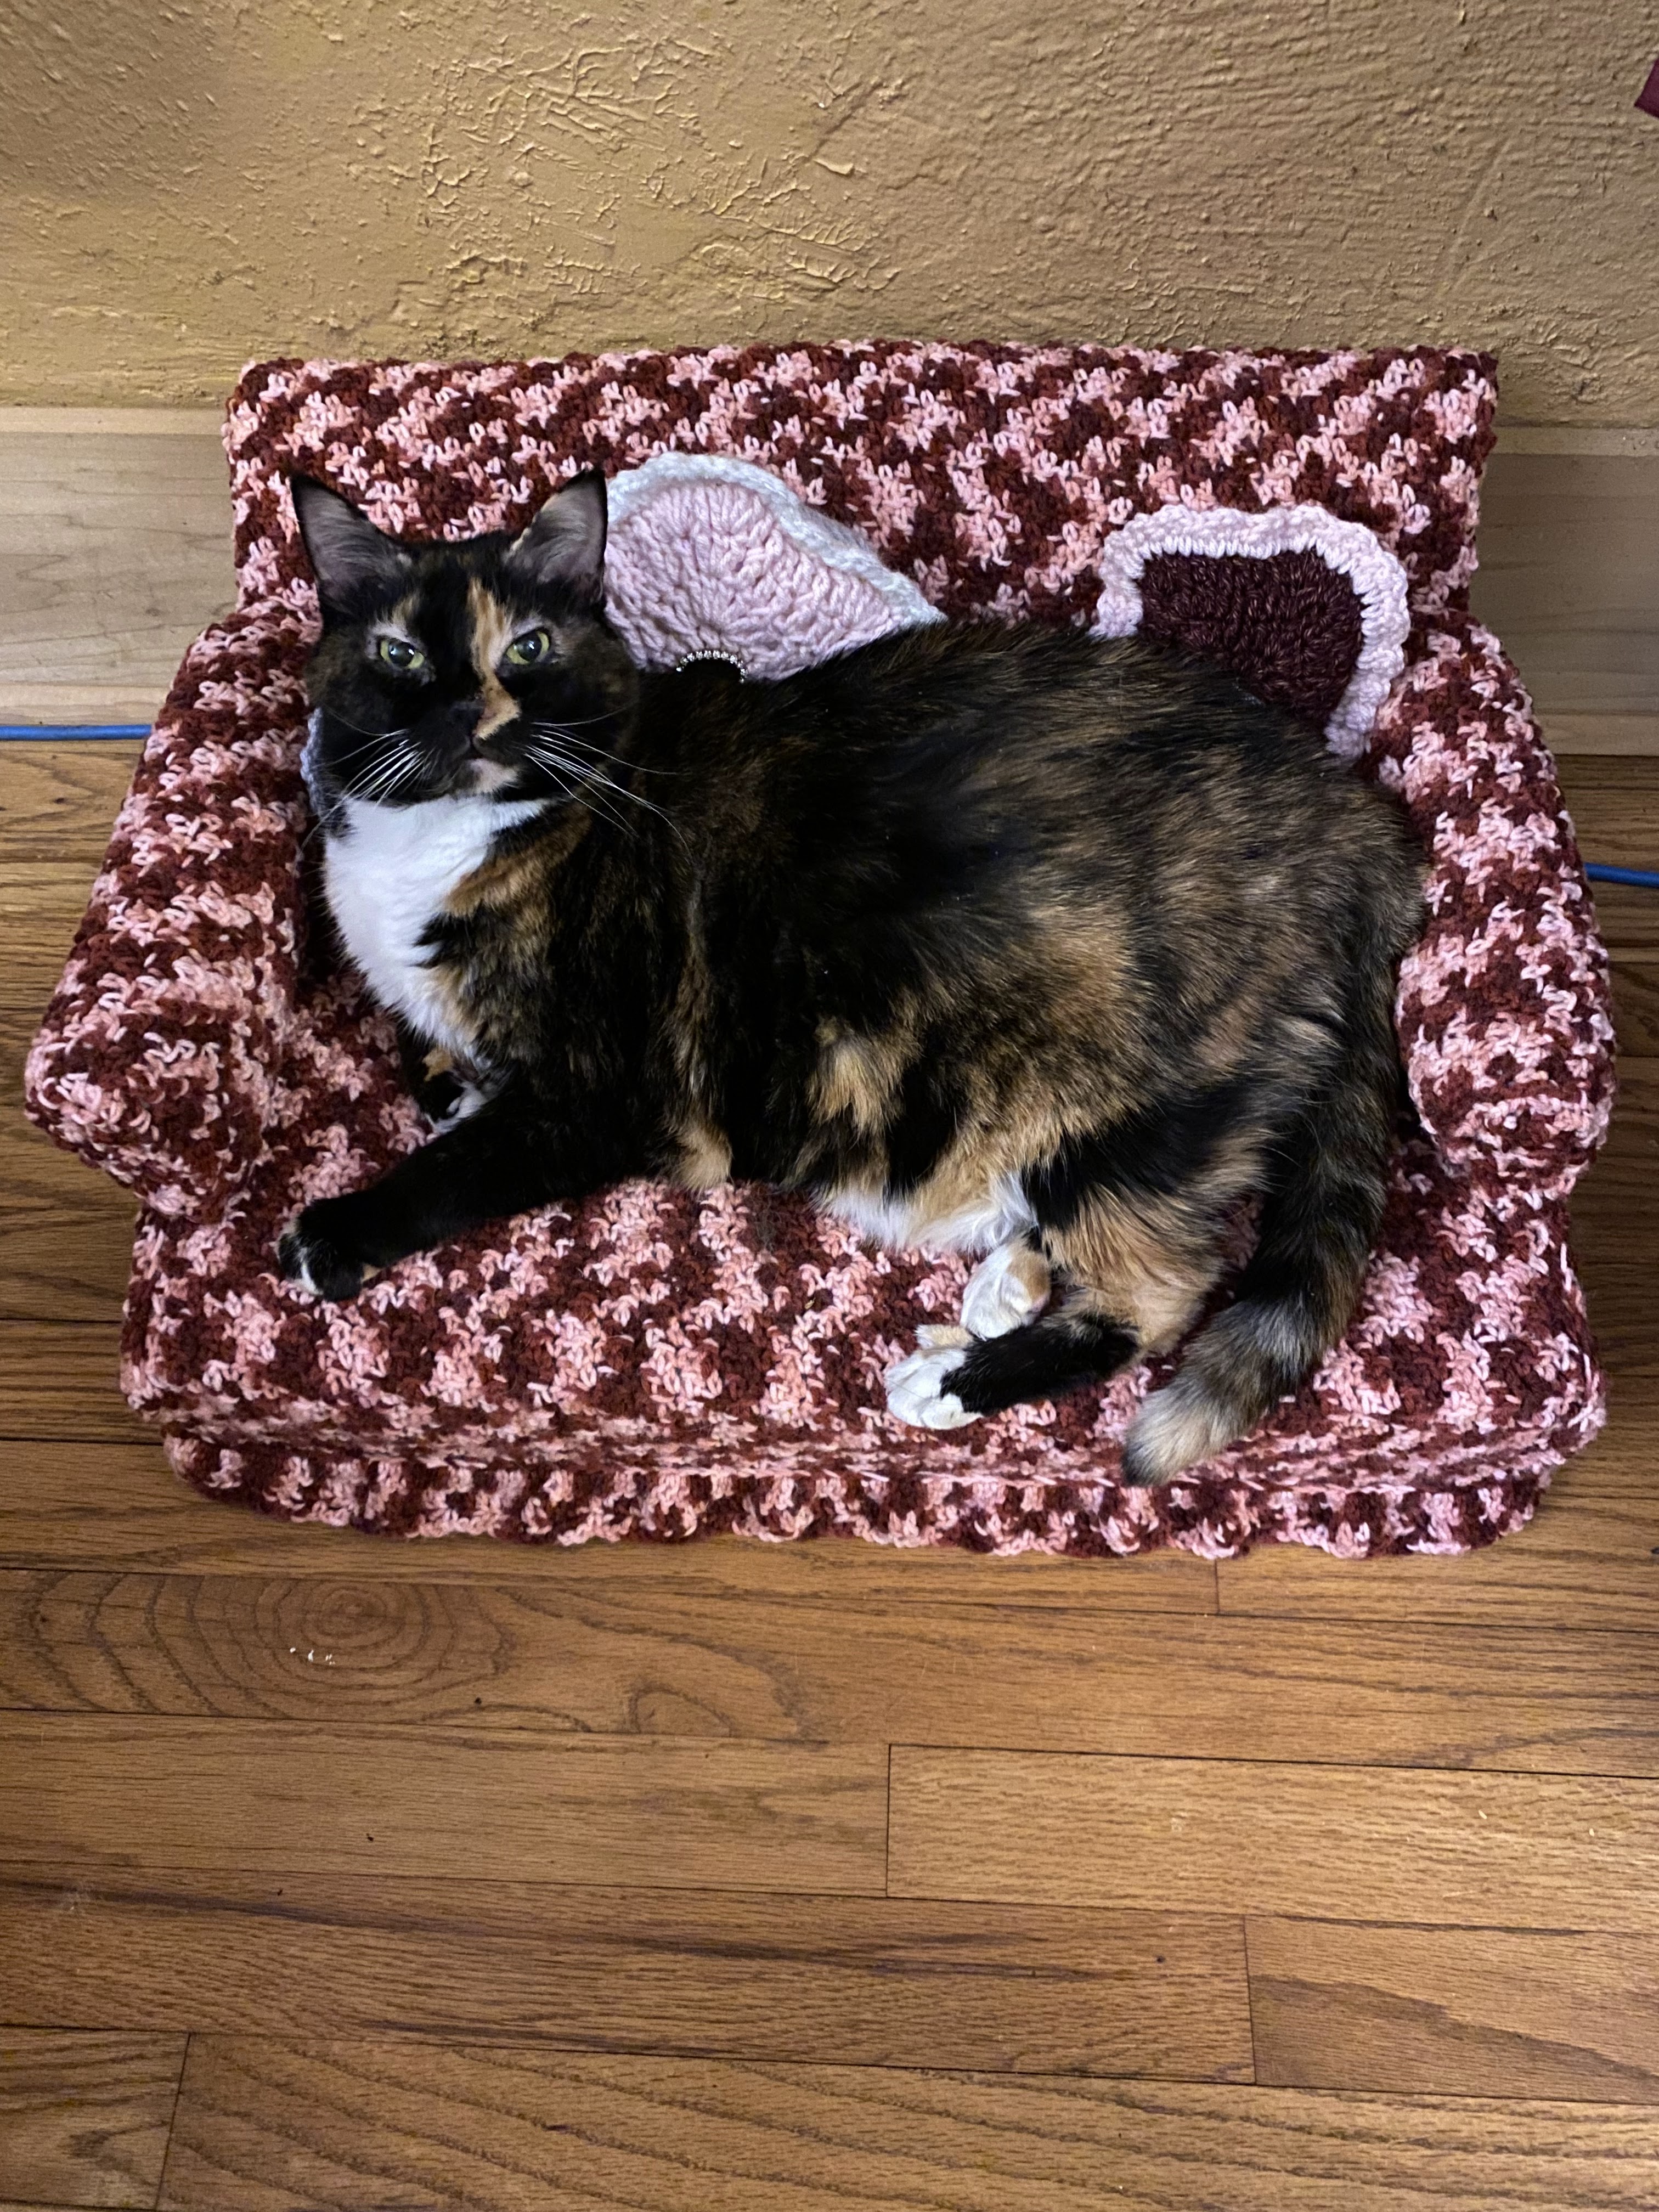
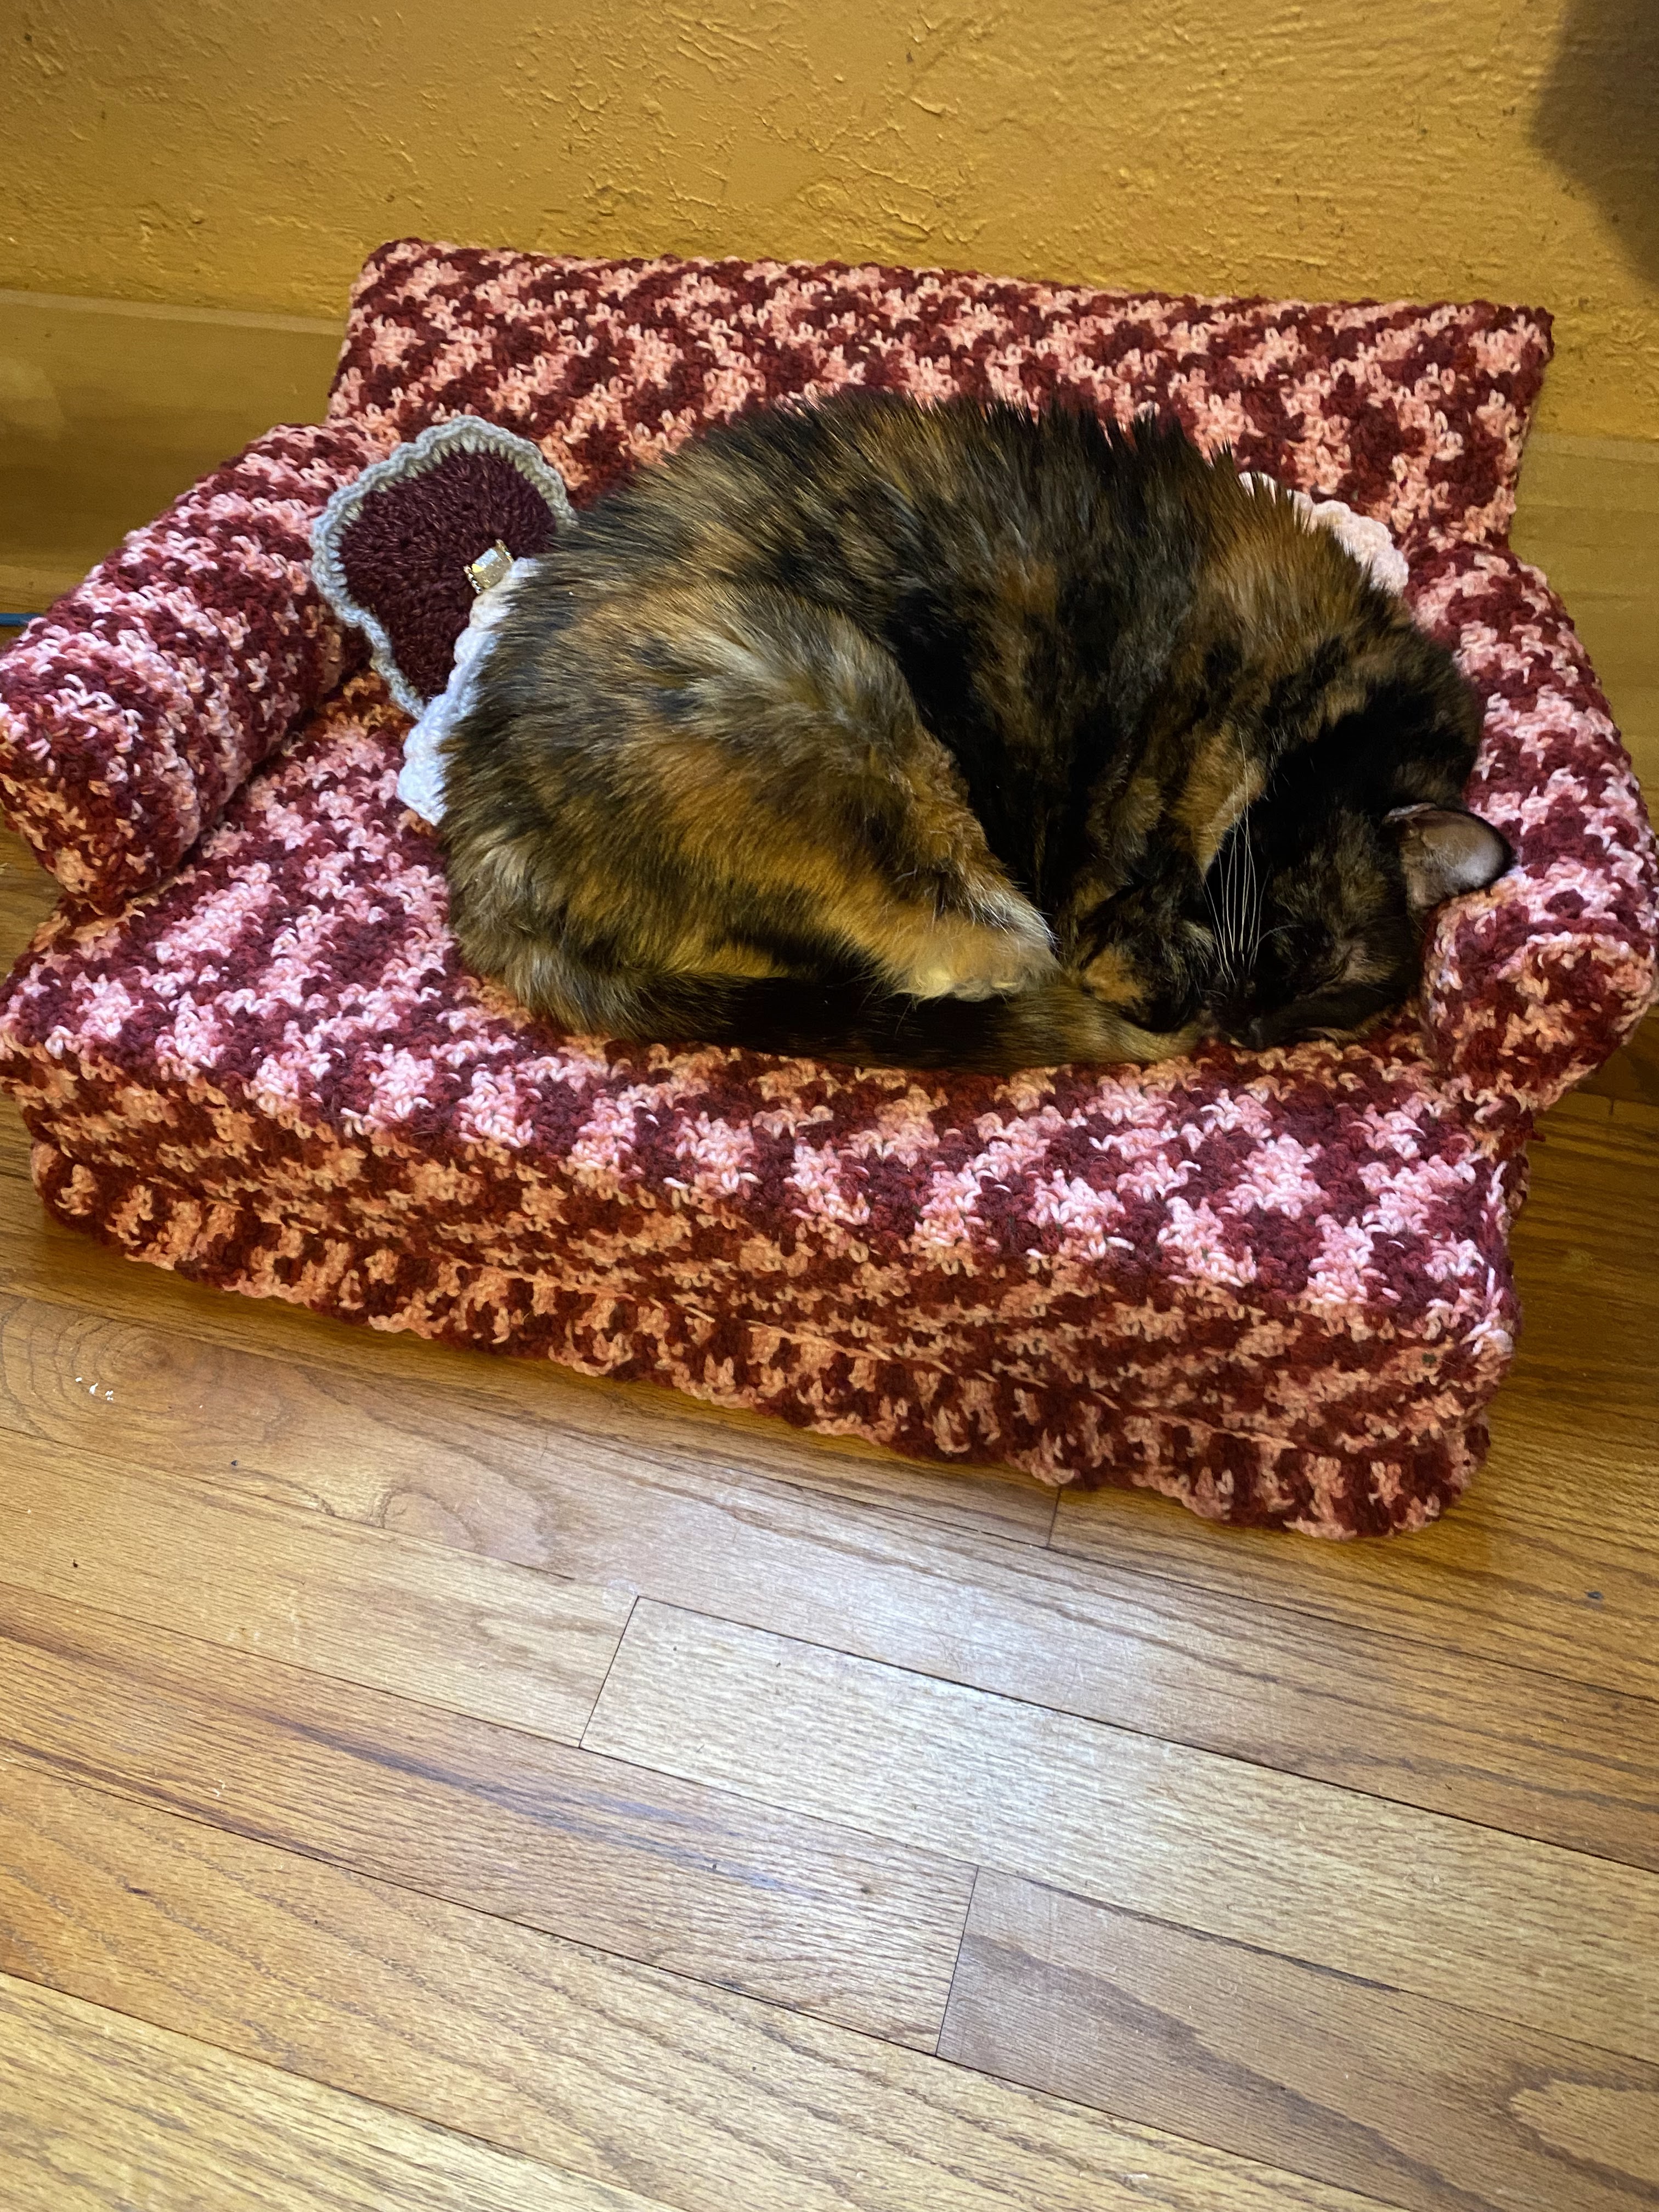
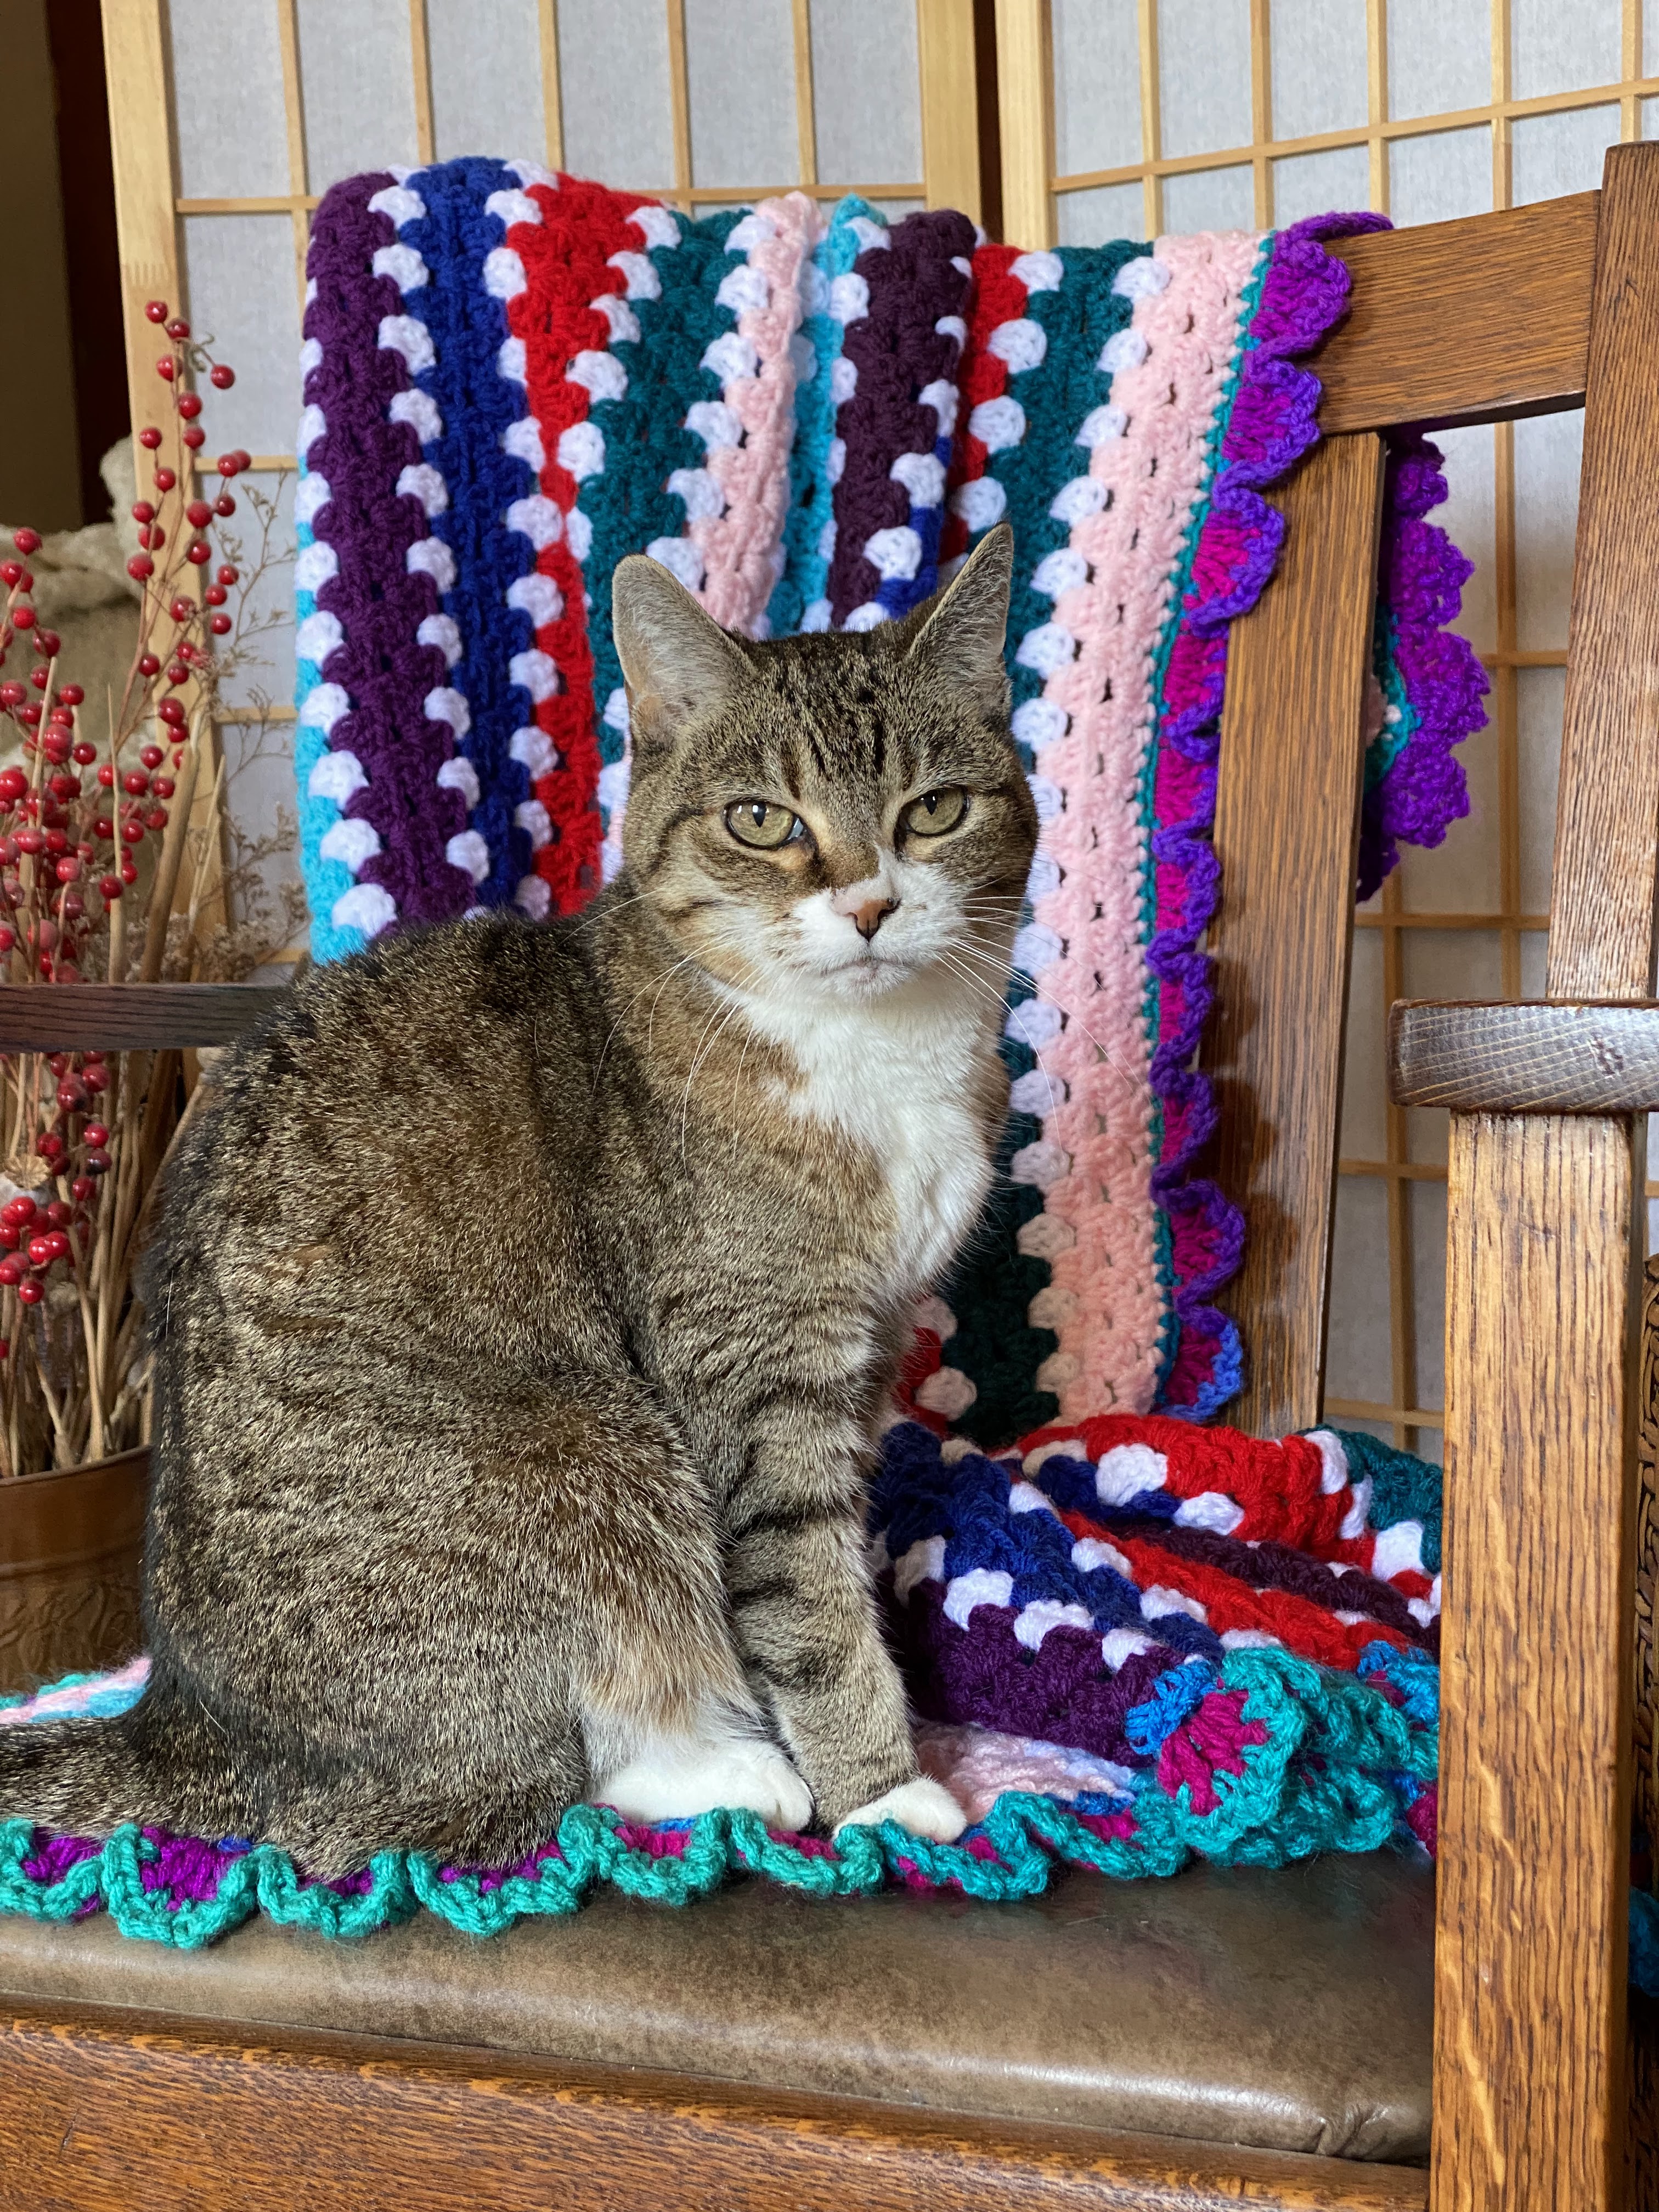
Our kitty, Little One, enjoying her new couch

I am so proud to report I finally finished this LONG, overdue WIP! Yay! I believe I mentioned in my last post I had started it in 2020. I had become so discouraged with the problems I was experiencing in following the pattern, I had given up. (See my last post for more information.) I’m so glad I drudged through and completed it, especially when I see how happy she is.

Our furry companions give so much to us and really are family members. They deserve to be treated well.

I am more aware than ever of the emotional ties we have to our four-legged friends since sadly, our other kitty, Pumpkin, passed on the 20th of May.

Pumpkin with my Granny Stripe Throw

She had been a part of our family for 15 years and as you can imagine, we loved her very much. But, unfortunately, she was diagnosed last summer with thyroid and kidney problems. We pursued all the dietary and prescription resources suggested but there is no cure for kidney disease. Eventually, she became too weak to continue on and wasn’t eating.

Crocheting the Claigan Cowl by Claudia Dingle @sunbirdcrochet. Pumpkin on her last day

Towards the end, she mostly stayed on my lap and it was very rough seeing her so depleted and frail. I am very thankful to have a hobbie like crochet. It soothed my frazzled nerves and breaking heart. I could focus on just the next stitch and the next stitch….

But eventually it became obvious she was suffering. I contacted a mobile veterinarian and Pumpkin was able to pass in my lap at home. My children, who had grown up with her, were there. We buried her in a beautiful little spot, under a small tree in our yard. I plan to get a little cat statue to place over her grave. (My son’s very good idea!)

I still experience some amount of sadness every day, but mostly I can think about her now and not bawl my eyes out. Time does eventually take the deep sting away.

If you are experiencing pet bereavment, the following website is wonderful: The Pet Loss Support Page. It answers questions about grief, when is the right time to euthanize, and other subjects related to pet loss. Well, I think that is all for now as writing all this is making me a bit sad and tired.

If you would like to share craft projects you have made for your furry friend, I would love to see them. Or if you have stories of your own, please feel free to share those too!

Things I Wish I Knew Before I Started “The Kitty Couches” Pattern Sold by Annie’s Crochet

Designer Candy Clayton

This is the most adorable pattern and I was so excited to try it. Especially since one of our cats had been diagnosed with Diabetes and I wanted to do something nice for her. But unfortunately, until last weekend, I had abandoned the project and it sat in my yarn room since 2020. I had gotten so frustrated and intimidated due to the instructions, I couldn’t marshal the energy or confidence to go back to it. But lately, I’ve gotten some motivation from somewhere to tackle roadblocks. (Also, my cat went in my yarn room, sniffed the project, meowed, and looked at me in what seemed to be an accusing manner.) Hopefully, someone else will benefit from my newfound resolve as I’ve decided to provide some tips so maybe, others who have bought the pattern will have a better experience.

  • Tip #1—Check your gauge. If you don’t know how to do this, there’s a great tutorial here: Bella Coco  (Her YouTube channel is great!) I know this is an extra step that is hard to do when you’re excited to start a pattern. But I have avoided a lot of heartache and extra work by doing this. For me, if I put in all the effort, I want to be reasonably happy with the finished product. Process is great, but it’s certainly not all for me. I always make a gauge swatch. However, for some reason, that didn’t work this time. I adjusted my hook size to make gauge, but the finished pieces didn’t fit the foam size listed in the pattern. This is where the process broke down for me. I tried twice to assemble it and it looked awful. I couldn’t bear to take it apart a 3rd time.
  • Tip #2—After you finish crocheting the couch pieces, wet block them. This is left out of the pattern instructions. If you want the pieces to come out in neat rectangles that will hug the foam pieces in a tailored rather than tortured way, this is an important and so worthwhile step. Here is a good tutorial on blocking: Sewrella. (You don’t need to use the products she is recommending. Find ones that work for you. I use old yoga mats and non-rust T pins.)
Wet blocking Kitty Couch pieces
  • Tip #3—Once blocked and dry, you know what size to cut the foam and can purchase accordingly. (I couldn’t follow the size recommendations in the directions, even though I technically made gauge. Foam can be expensive and I wound up spending more than I should have because I can’t use some of the pieces I cut.) You will need foam for the base/seat, the backrest and the arms.

For the couch base/seat, the instructions advise to purchase 1” tall pieces of foam and stack 4 of them on top of one another. This was unwieldy and hard to work with for me. I recommend purchasing foam that has a depth of 4”, (not the length or width) for the base/seat. The length and width will need to be sufficient to accommodate the blocked size of your finished pieces.

For the backrest and arms, you will need foam that has a depth of 1”. The foam’s width measurement will be the same as your finished crocheted piece, but the height should be double as the directions advise to fold in the piece in half lengthwise.  For example, if my crocheted backrest is 21” wide and 14” tall, I would cut my foam piece 21” wide and 28” tall.

The same is true for the arms as the foam will be folded in half, lengthwise. For example, if the crocheted arm is 8” wide and 4.5” tall, I would cut the foam piece 8” wide and 9” tall.

I hope this is clear. But if not, pop a question in the comments section below or you are welcome to email me at crochetatthelodge@gmail.com . Which brings me to my last tip.

  • Tip #4—Consider buying a pattern that has support. This pattern says it does, but not really. On the last page of the pattern in a font size that’s about 3, you are directed to visit AnniesCustomerService.com to look for a pattern update if you need help. I went to the page, and received the message that there were no updates to the pattern.

This isn’t the first time this has happened to me when I’ve purchased a pattern from Annie’s. Although they have some very cute ones, it’s just not worth the frustration to me to buy something and get horribly stuck or waste money on supplies because the instructions weren’t clear or accurate. So, unfortunately, I won’t be buying any more from them, especially since there are so many great indie designers out there that do respond when you need to ask a question.  

I don’t have a picture of the finished piece yet, but I plan to add it when I do. Stay tuned!

Craft Buddies for Friendship and Mental Health

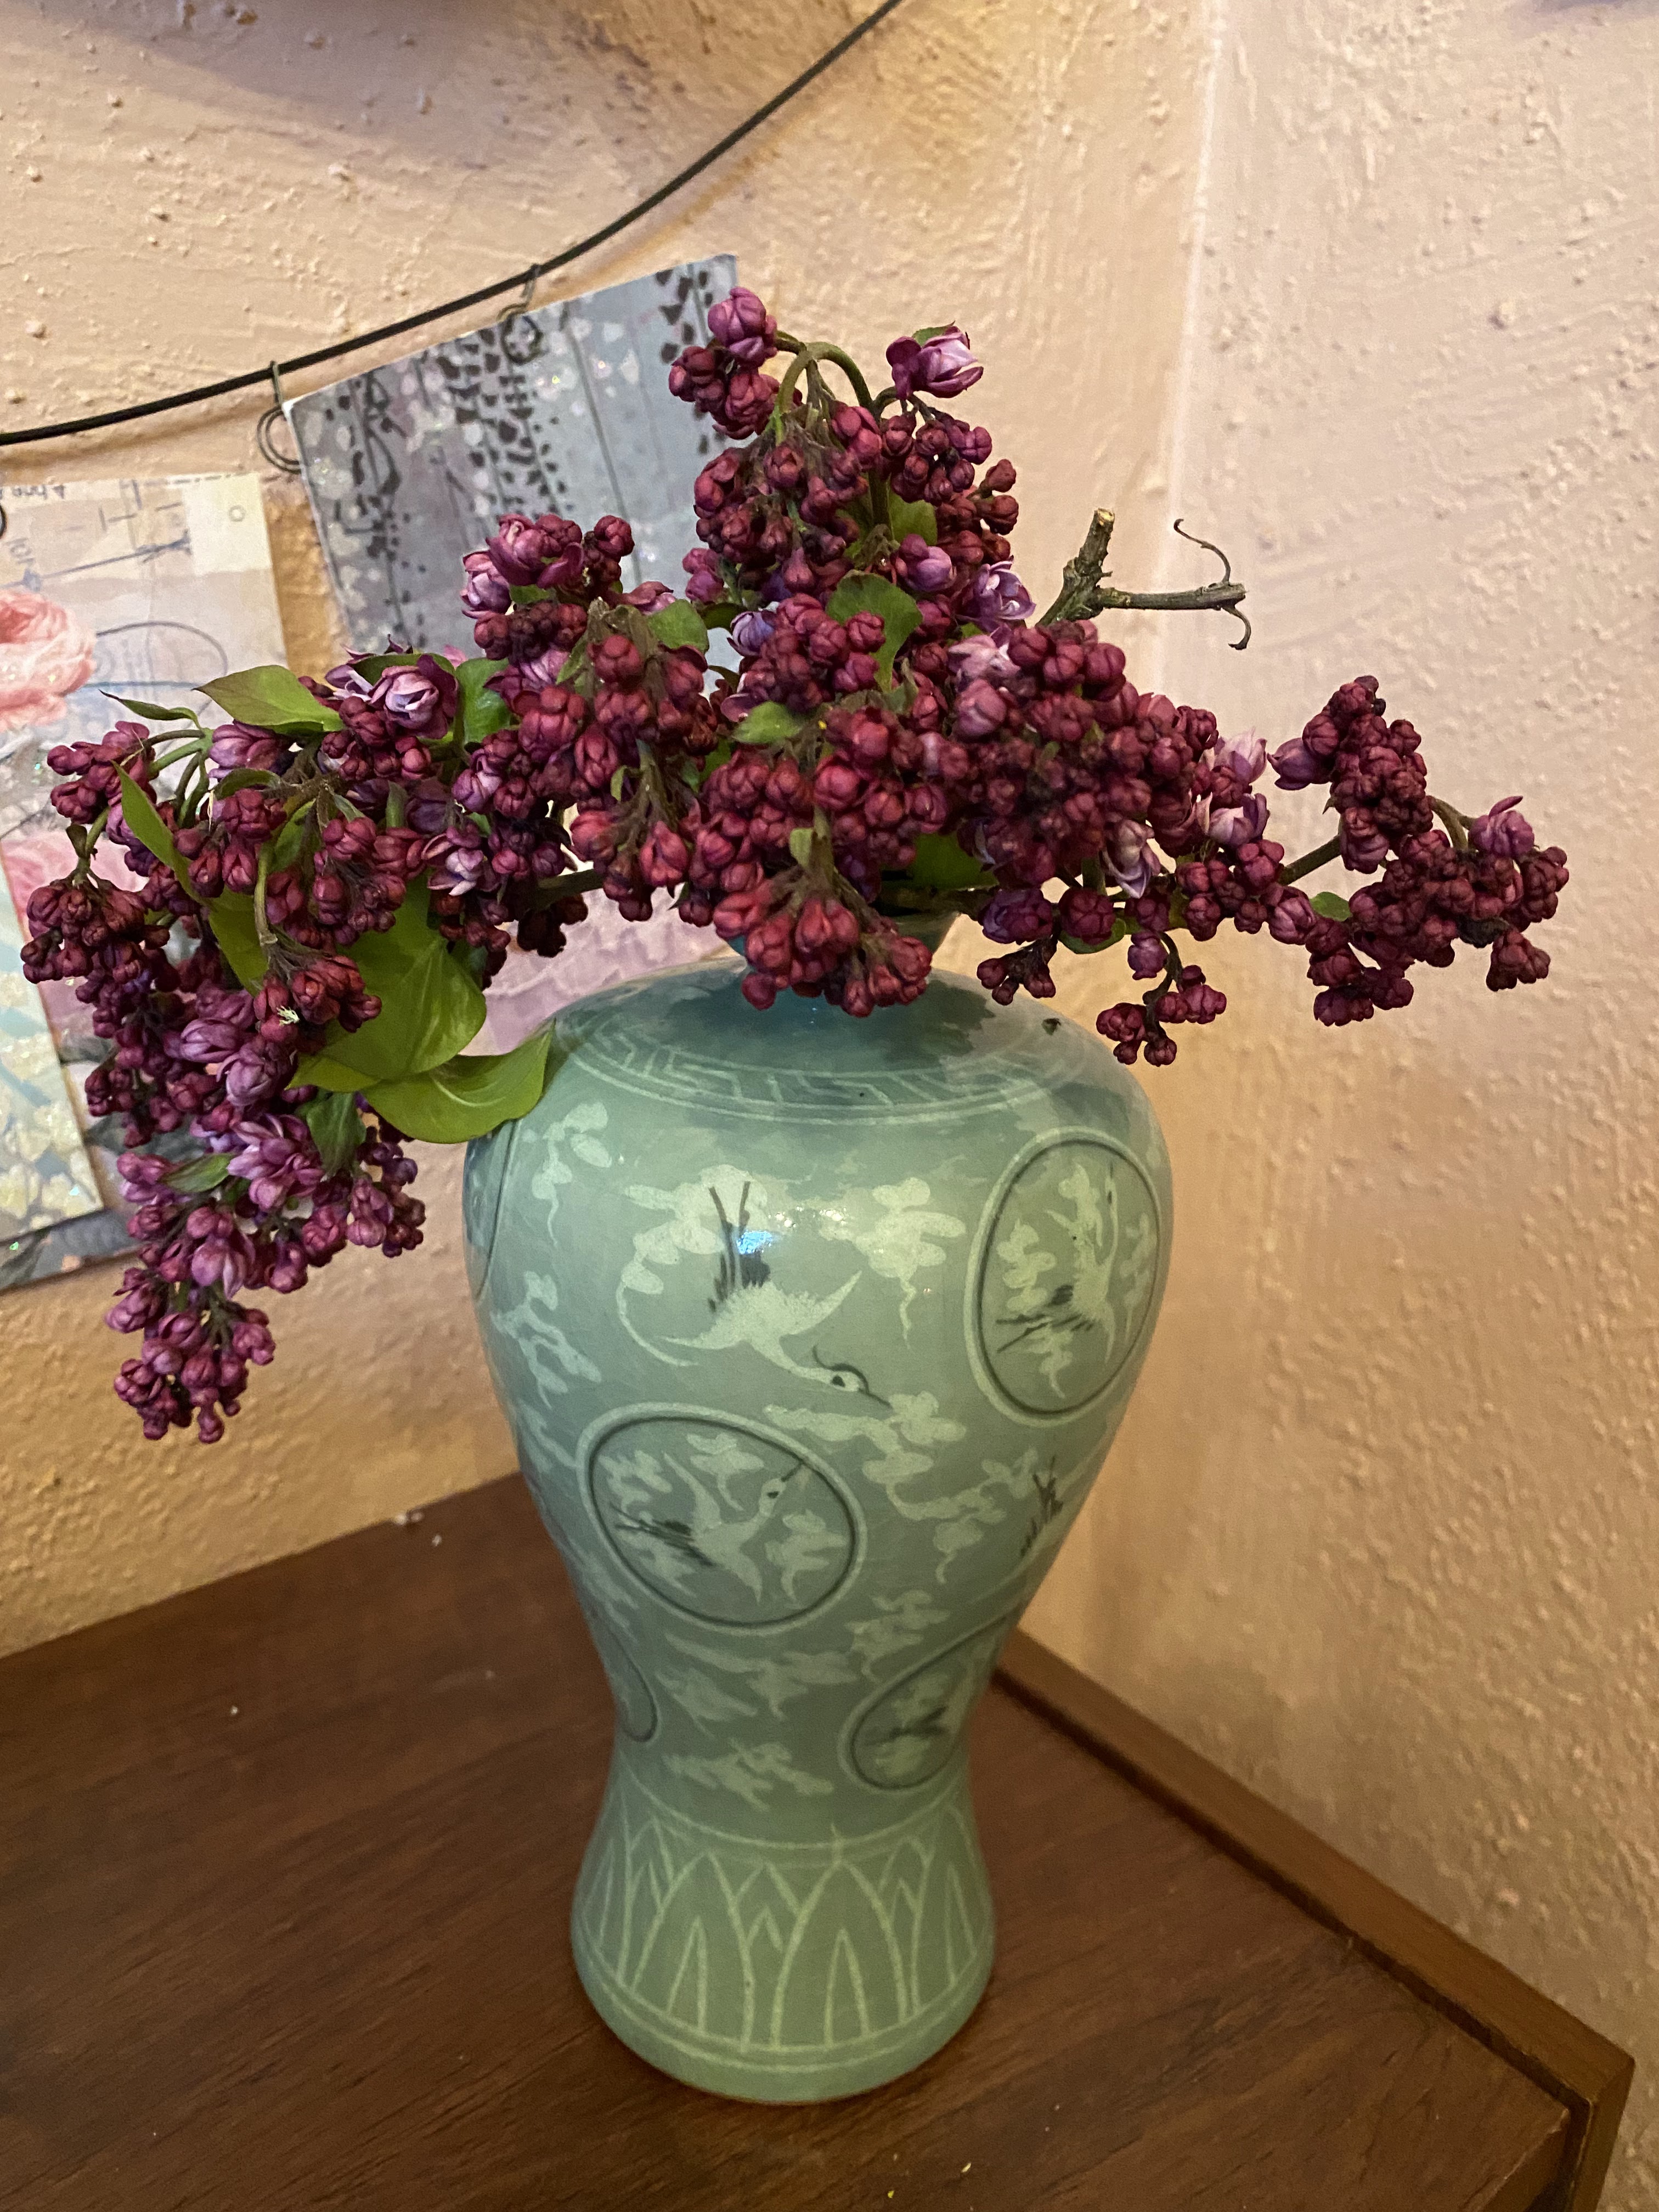
I’ve been absent for a few weeks due to the demands of my private practice as a mental health therapist and an unseasonable snow storm last week. We got 6-8 inches of snow which knocked our power out for hours. It unfortunately also claimed our beautiful lilac tree. Here is a pic of some of the blooms I snipped off the downed beauty. 😦

Last blooms from our lilac tree.

A snowstorm can feel so isolating. But thankfully, the weather cleared in a couple of days. I was able to get together with a good friend for some talk and crafting time.

Although I appreciate my solitary crafting time, it is so rewarding to share it with another creative person who shares a passion for making. Crafting and art activities have been shown to reduce cortisol (stress hormones), improve self-esteem, reduce anxiety and depression, lower blood pressure and generally improve mood.

Starla Butler

Once a month, I get together with my friend, Starla Butler. I met Starla in about 2017 when we worked in community mental health as assessment specialists. Since then, we have both gone on to create our private practices as Licensed Mental Health Therapists. But we have stayed in touch and schedule regular time to catch up or consult on challenging cases.

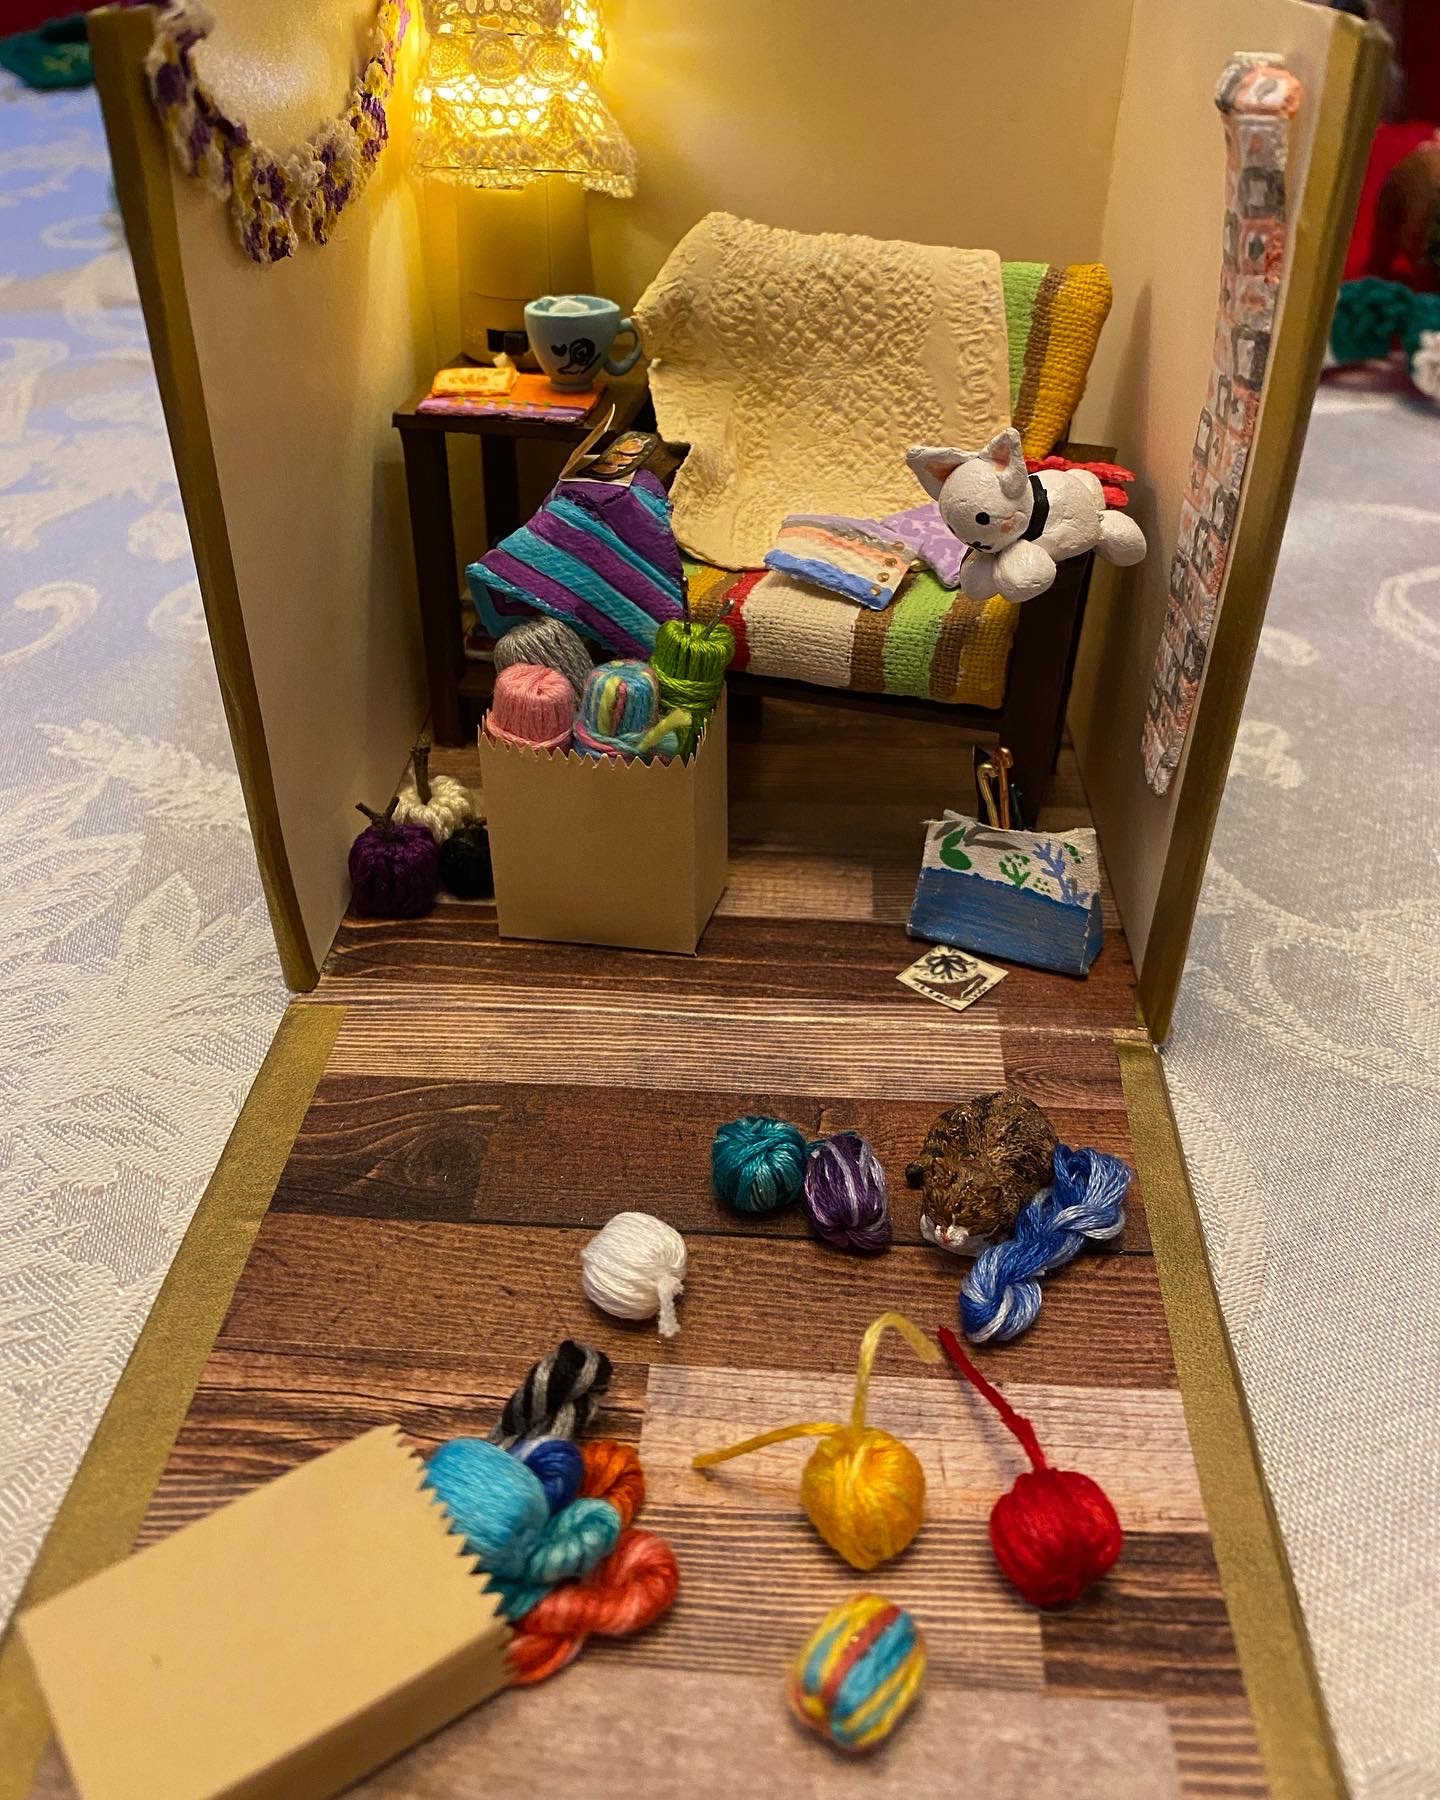
Starla suggested we enrich our time together with working on our craft projects. Although she doesn’t crochet or work with fiber arts, she creates amazing miniatures. I was fortunate to receive the following from her for Christmas last year.

She had looked through all my crochet posts on Facebook and had made tiny replicas of my projects along with a replica of my favorite crochet space, my couch. I was so blown away when she gave it to me. I couldn’t stop talking about it!  The lamp even lights!

I wanted to reciprocate so I found a cute crochet pattern for wicker type patio furniture which I am working on for one of her miniature houses. She thinks she can create a resin top for it. Our first collaboration!

With the times being what they are and our practices bursting due to the increased demands for mental health providers, I am thankful for my get togethers with Starla. Our mental loads are lightened when we visit.

Do you get together with family or friends to crochet or craft? If you know of any groups in SW Washington, I would love to know as I have been looking for a crochet group for awhile.

Until next time, I hope you are well and enjoying many moments of creating and friendship!

The Takoza (Grandchild) Tipi

I haven’t posted for a bit because I experienced a repetitive injury from crocheting. This was tough for me because I had to rest my wrist and forearm and stop crocheting! It was like torture because I crochet every day. But the pain was so bad I couldn’t even hold a pen to write. I knew if I didn’t take it seriously, it would get worse. Thankfully, last week, I was able to get back to it.

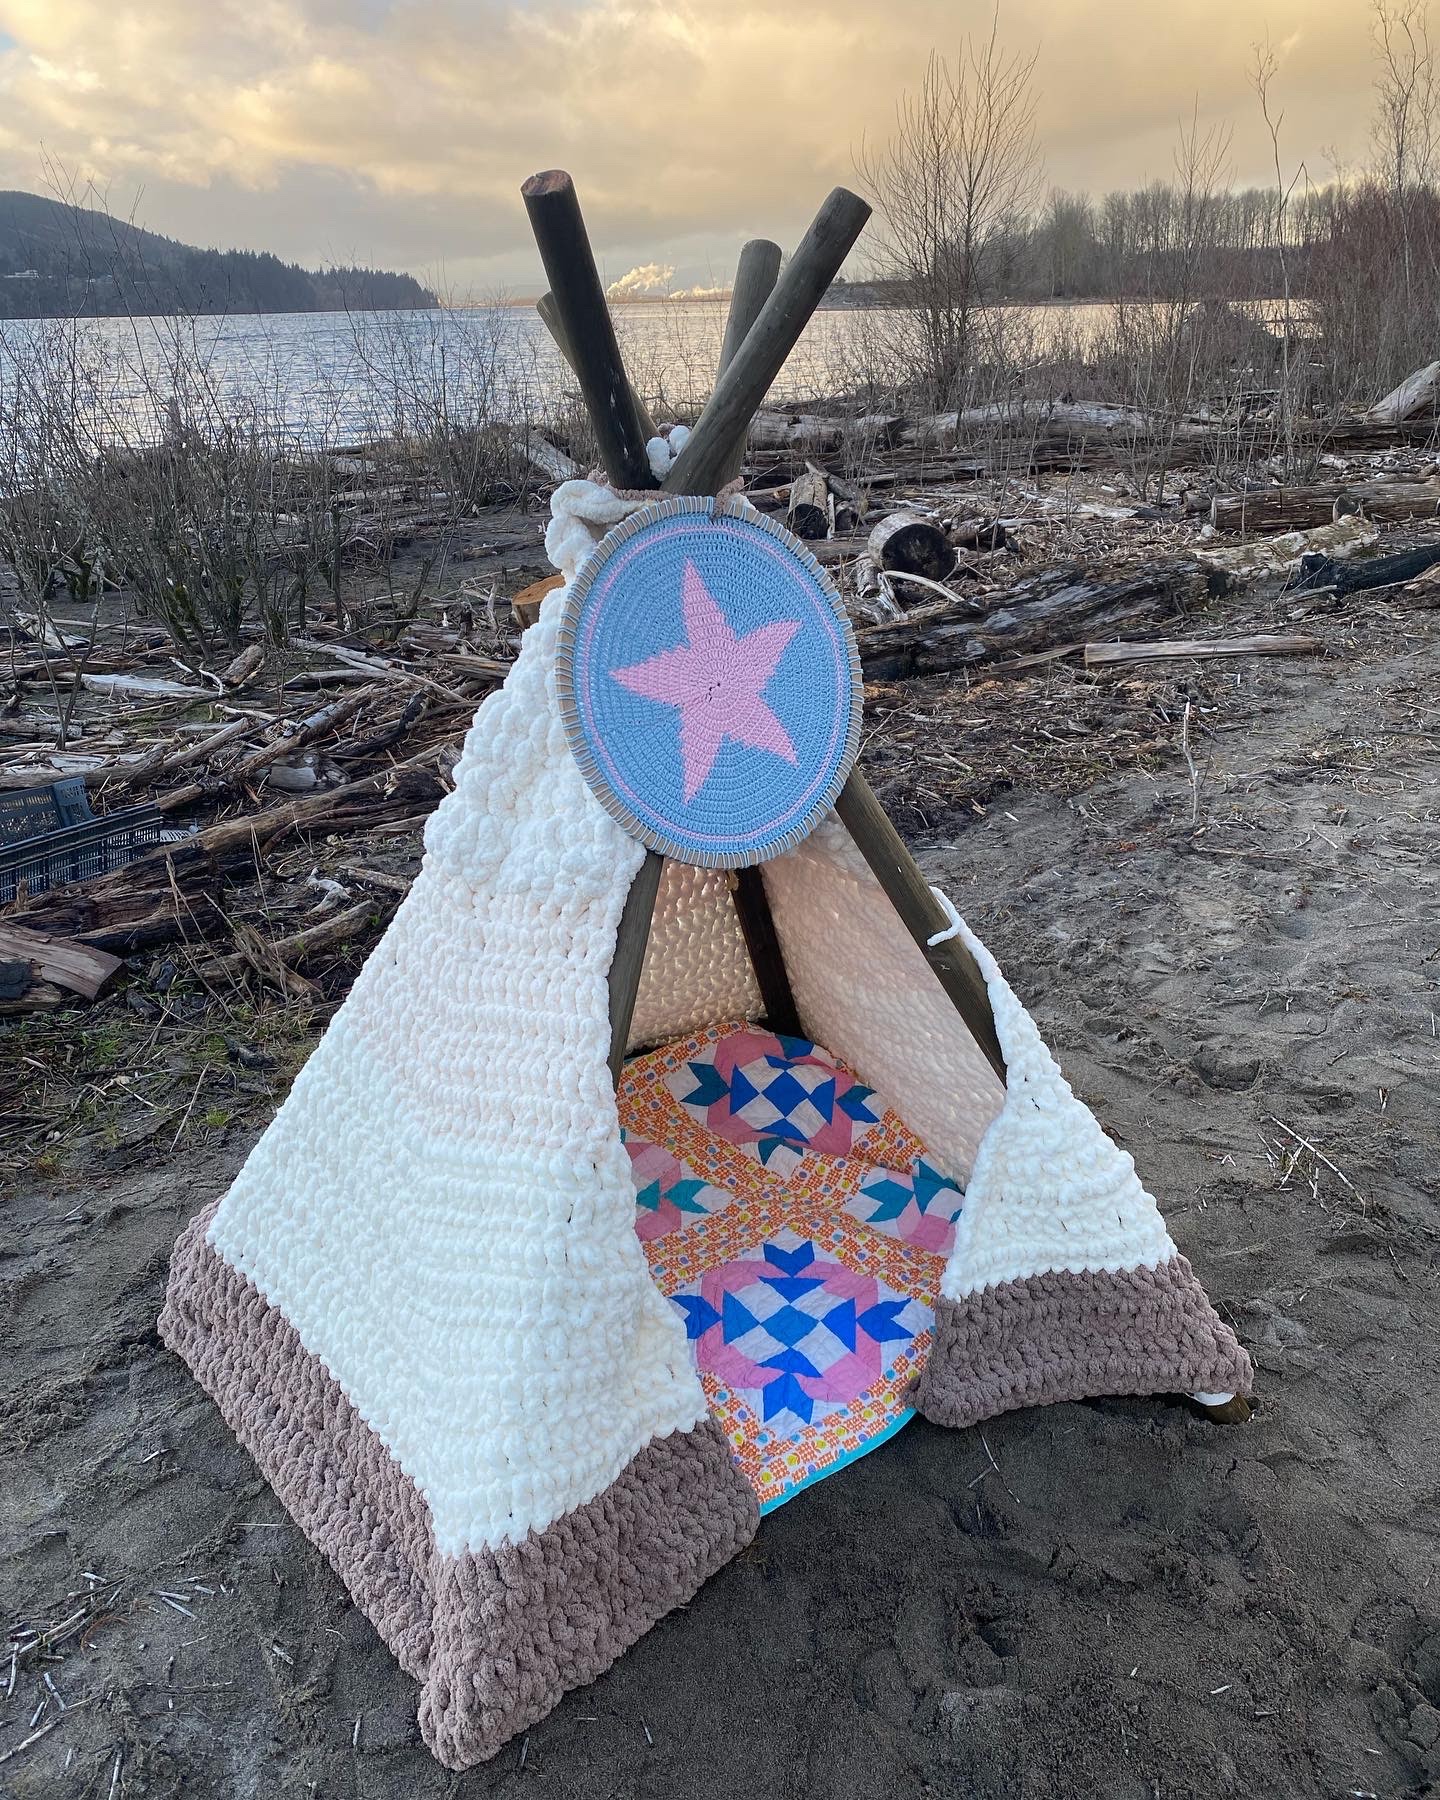
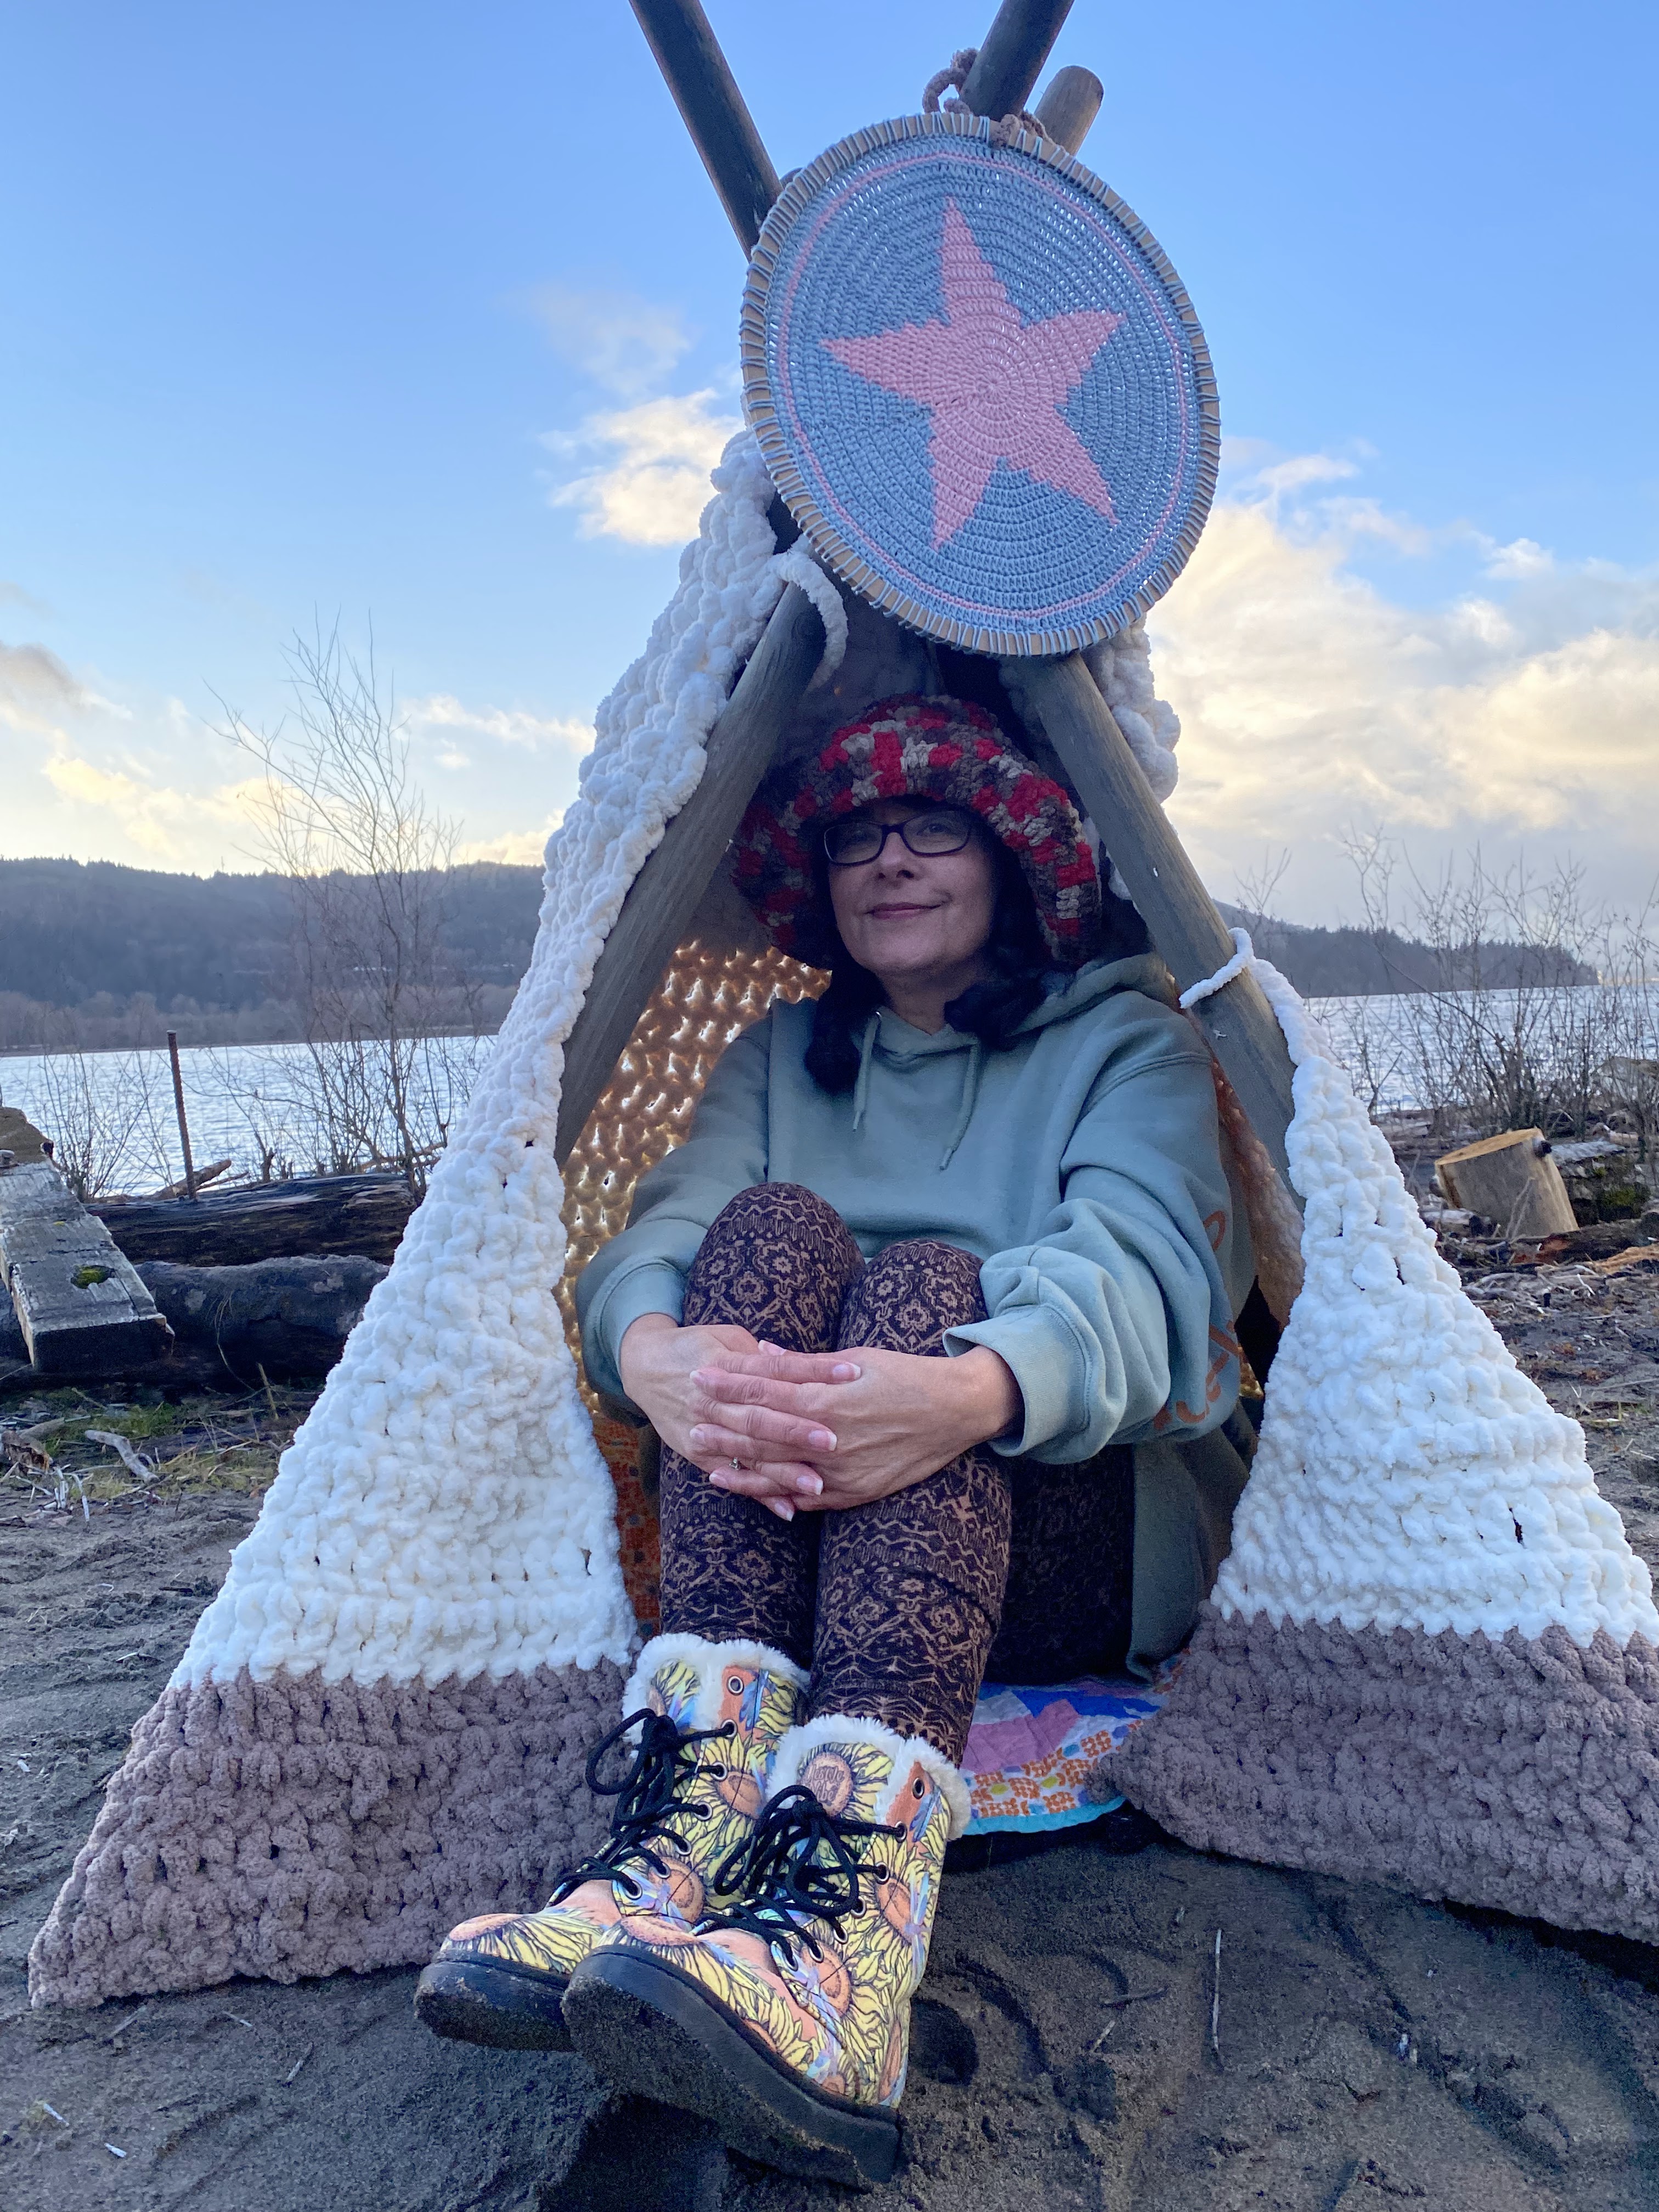
In continuing with my submissions to #TheGreatYarnChallenge contest by The Craft Yarn Council, I thought I would write about my project for the theme, Yarn in the Wild. As with my other projects, I wanted to honor my Dakhota lineage. I chose to crochet a child-size tipi. What says in the wild better? I am so proud of it. It is the largest crochet project I have made, and it was the cause of my injury! But it was so worth it.

This was a project that showed me I am capable of more than I give myself credit for. I didn’t think I could make such a large item. It was good to be proven wrong and receive a nice boost to my creative confidence. Spiritually this was so healing and nurturing for me too.

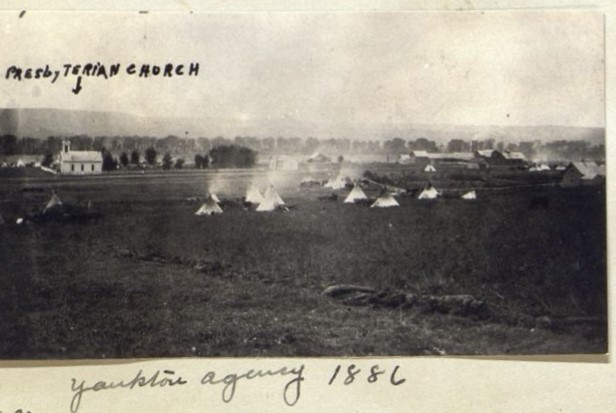
The tipi is how my ancestors historically lived in community with our family, extended family, and clan. It was our way to move with the buffalo and the seasons. Once the buffalo was nearly exterminated due to over-hunting and slaughter by European settlers, we were confined to reservations and became dependent on rations. We were impressed upon to try the European style homes. No longer in close community with our relatives, and due to isolation, we became focused on things that were not good for us. Our lungs suffered because we did not have the ventilation afforded by the tipi. But because my tribe was a peaceful, flexible people, and we wanted to survive, over time, we adopted the Euro-style homes.

Photo captured by the Presbyterian Church at Yankton Agency.

Sadly, our efforts and enforced assimilation through boarding schools did not promote good mental health for us. We were masking who we are fundamentally and how we had lived for thousands of years. Many of us became convinced our ways were wrong and even became ashamed of them. This is the effect of settler colonialism and genocide—loss of culture, language loss, loss of spiritual practices and ultimately identity. These effects extended through the generations to my family and caused addiction and chronic health problems.

I did not grow up learning the ways from my kin. We moved far from home to live the better life that was promised if we forsook and forgot what made us who we are. Most of my life, I struggled with depression, anxiety, feeling out of place or like I was on the outside looking in. I didn’t know why.

It wasn’t until I went to graduate school to study Psychology, that I was strongly encouraged to recover and reconnect with my heritage. It is something I have done slowly and sometimes painfully over the last several years. I wish I could say this is something unusual for Native people, but it’s not.

Well, there is so much more I could write about all of that, but that would be a different blog. If you’ve read this far, thank you for your kind attention.

If you are interested in giving this project a go, I will share how I made mine. I respectfully ask though that if you are not of Native American lineage, that you not sell it or use it to promote your business or website. This is cultural appropriation and follows in the footsteps of the exploitation and stolen resources Native people have been subjected to through Colonialism. Again, this would be a subject for another blog post so if you have questions or want to know more, here is a great podcast, All My Relations, to reference. One of the presenters, Adrienne Keene, has 300+ posts on her own blog, Native Appropriations. But, please do make and use it for you and your little relatives’ personal enjoyment!

Okay! Here are the long-awaited directions.

Supplies:

  • 3 balls Bernat Blanket Big in Vintage
  • 5 balls Bernat Blanket Extra in Vintage White (I ran out of Vintage) and Mushroom (Used at the base of the tipi.)
  • 15 mm crochet hook
  • (7) 3” wide and approximately 1.5” tall pieces of scrap fabric. I used a muslin fabric. These will be pockets to slip the lodge poles in. My husband cut them down to 5 feet.
  • (5) tree stakes. I got mine at Lowes. These were a bit too wide though. To incorporate the recommended 5 stakes, I would look for stakes that are no bigger than 1.5” in diameter.
  • Sisal or natural fiber rope

Directions—(Very casual!)

  • The tipi is basically just a big crocheted semi-circle. I used this tutorial from Happily Hooked Magazine to make mine. I just kept increasing until it was long enough and wide enough for the size of the lodge poles.
  • Once the tipi half circle is the size you would like, you can hand sew or hot glue 5 pieces of the scrap fabric evenly around the bottom of the tipi. The other 2 pieces are attached to the mid-front of the tipi to hold the opening. Make sure you are attaching these to the side you designate as the “wrong side” or inside. Then you slip the poles through these holders with the pointed side down, not through the top. You will want to insert the pointed side in the earth.
  • Once the poles are inserted in the earth, tie the tops of the poles together with the sisal rope. Man-made fibers can be too slippery.
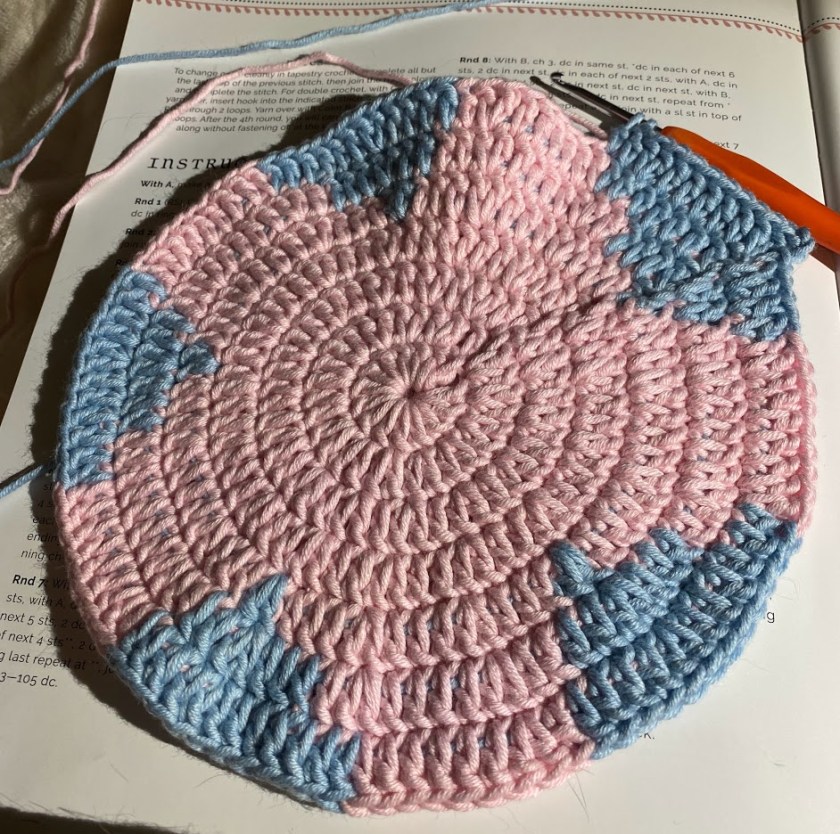
  • Optional—create a mandala for the entrance of the tipi, or any decorations you would like. I made the Tapestry Star from the book Modern Crochet Mandalas by Interweave.

If you do make it, I would love to see it! You can tag me on Instagram @holly_marie0407.

Free pattern–Sparkling Winter Star Placemat

Hello everyone!

I hope February has provided you with ample time to craft and create.

I am very excited for this month as I am participating in #TheGreatYarnChallenge hosted by The Craft Yarn Council. (If you’re new to crochet, this is a great place to find all kinds of useful information about yarn, tools, patterns and designing.) There are 6 weeks in the competition and each week is a different theme. Entrants are encouraged to design their own projects; however, you can also use the sample patterns provided and add your own flair. You can enter as many weeks as you would like. This is a good opportunity for me to grow as it will challenge me to get more comfortable with designing—something I’ve wanted to do.  And speaking of designing, I’m very proud of the design I created for the first week’s theme, Spruce Up Your Space.

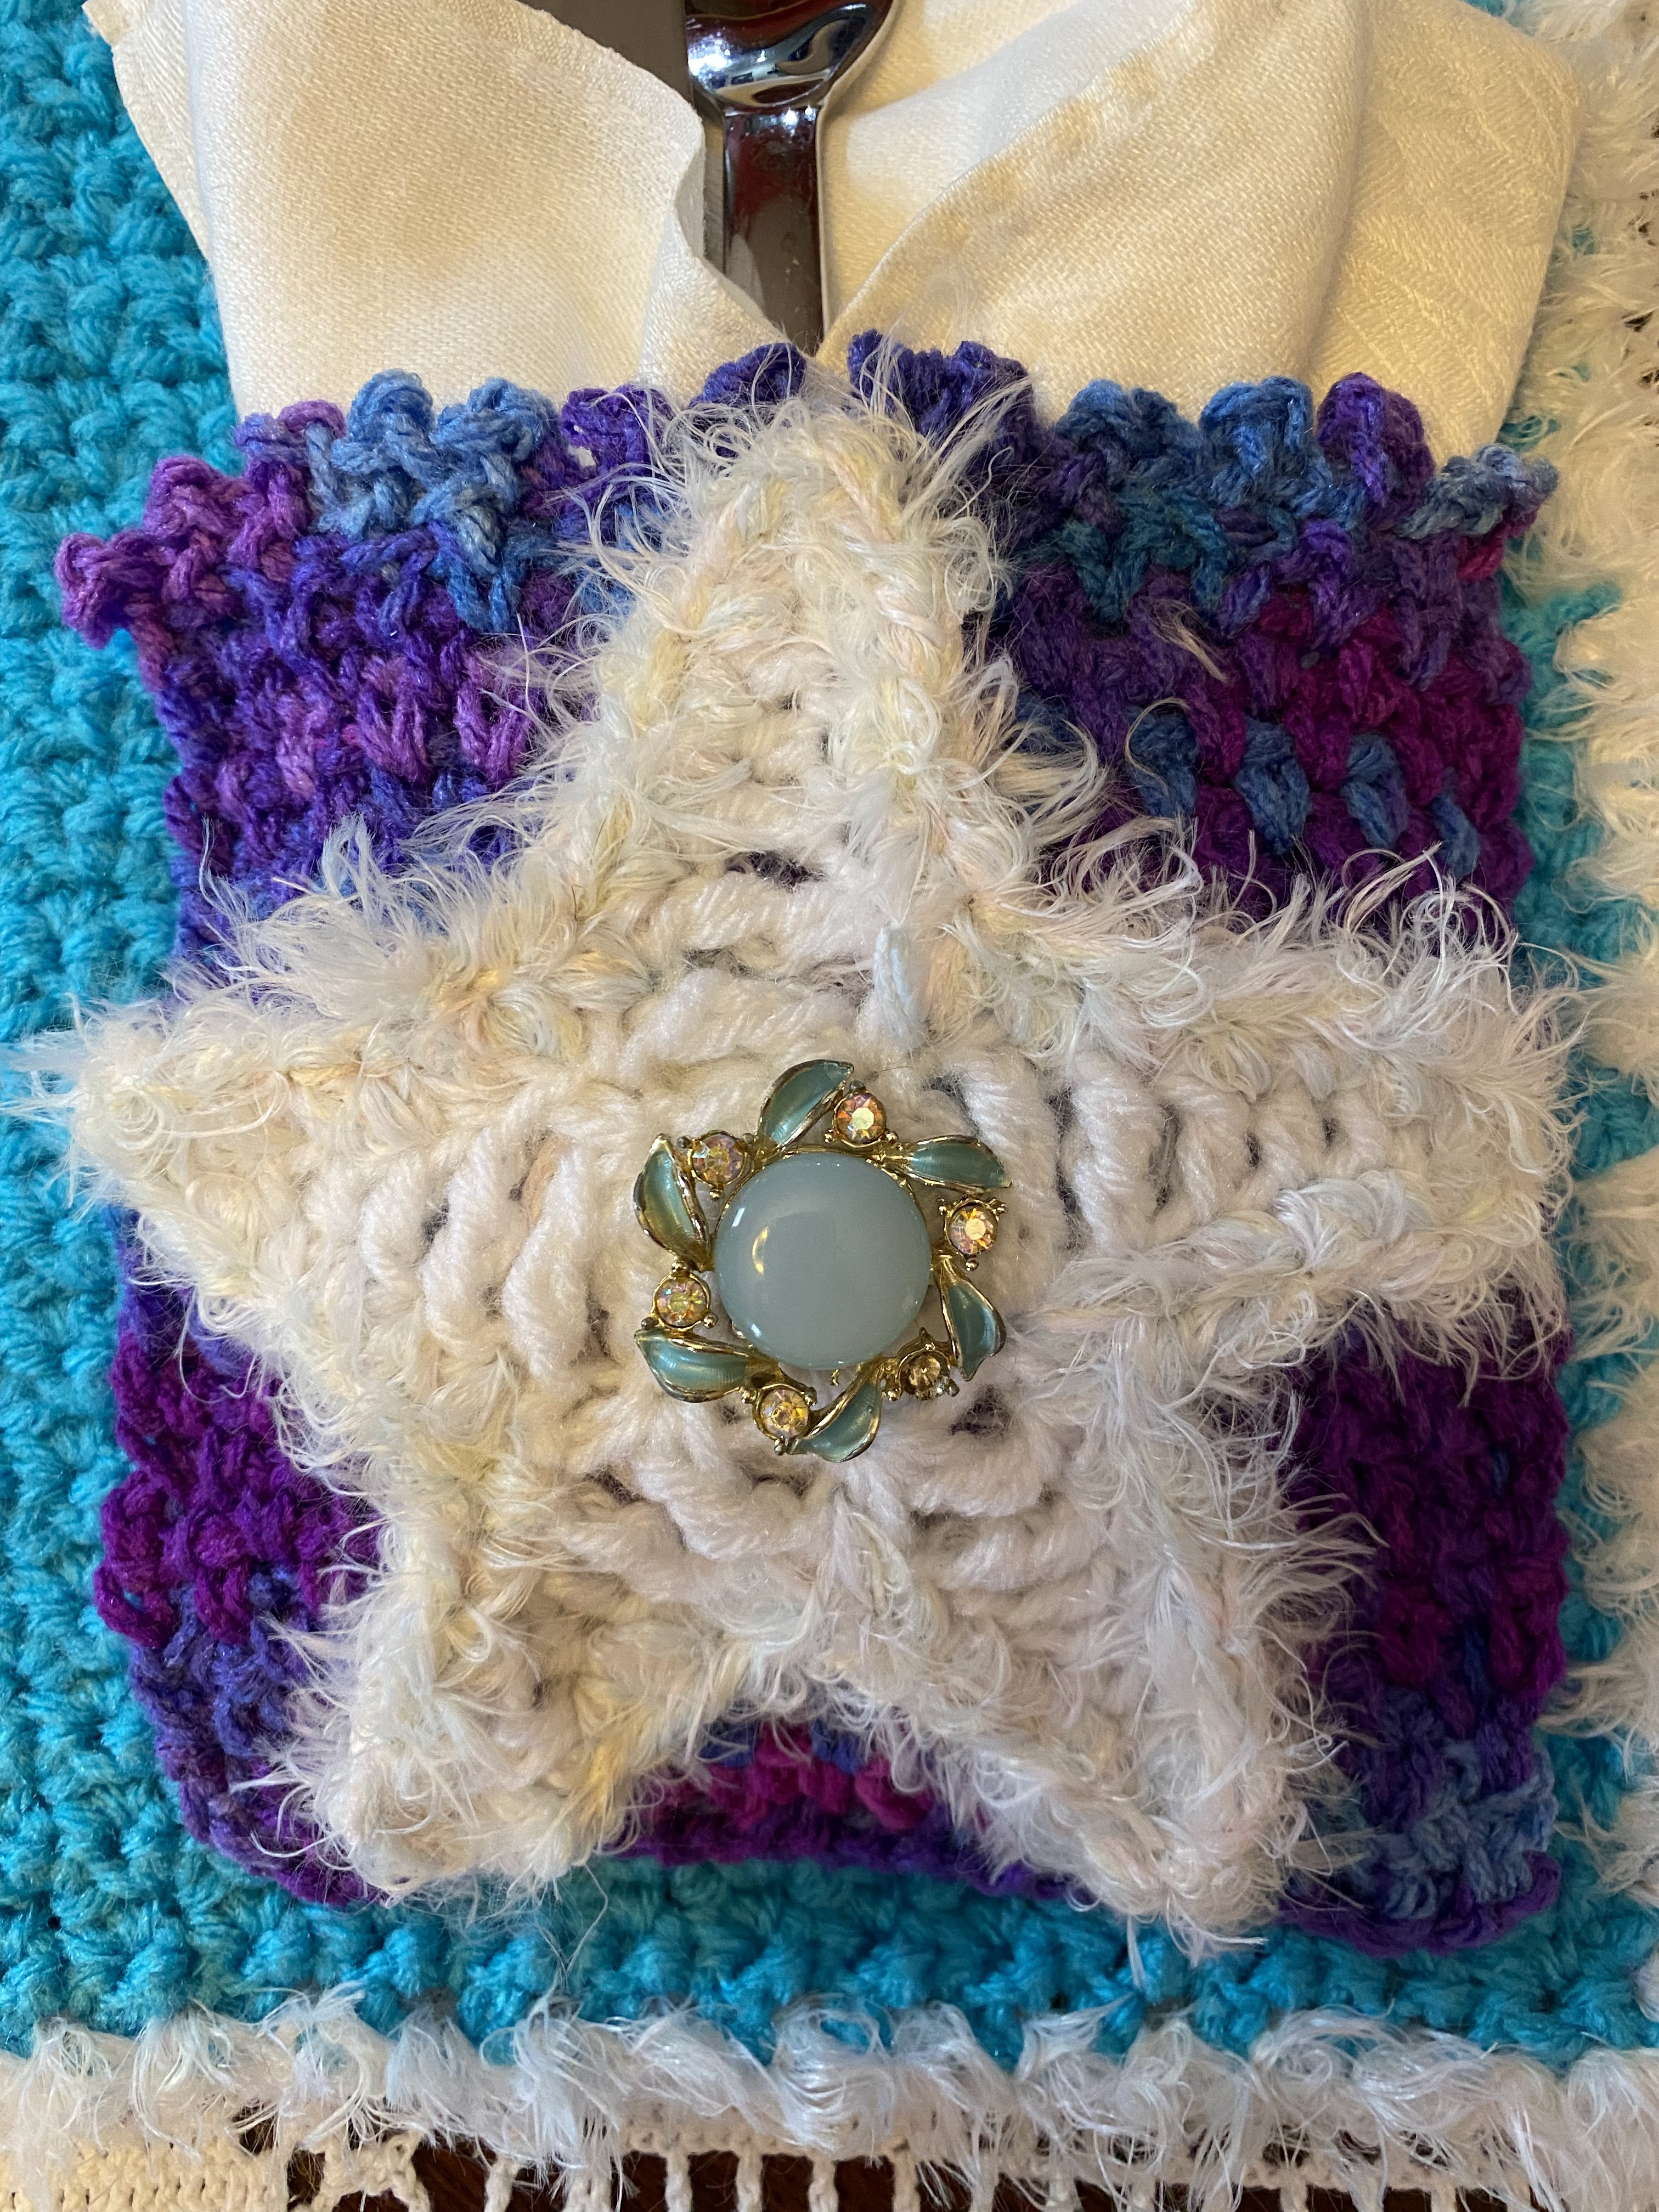
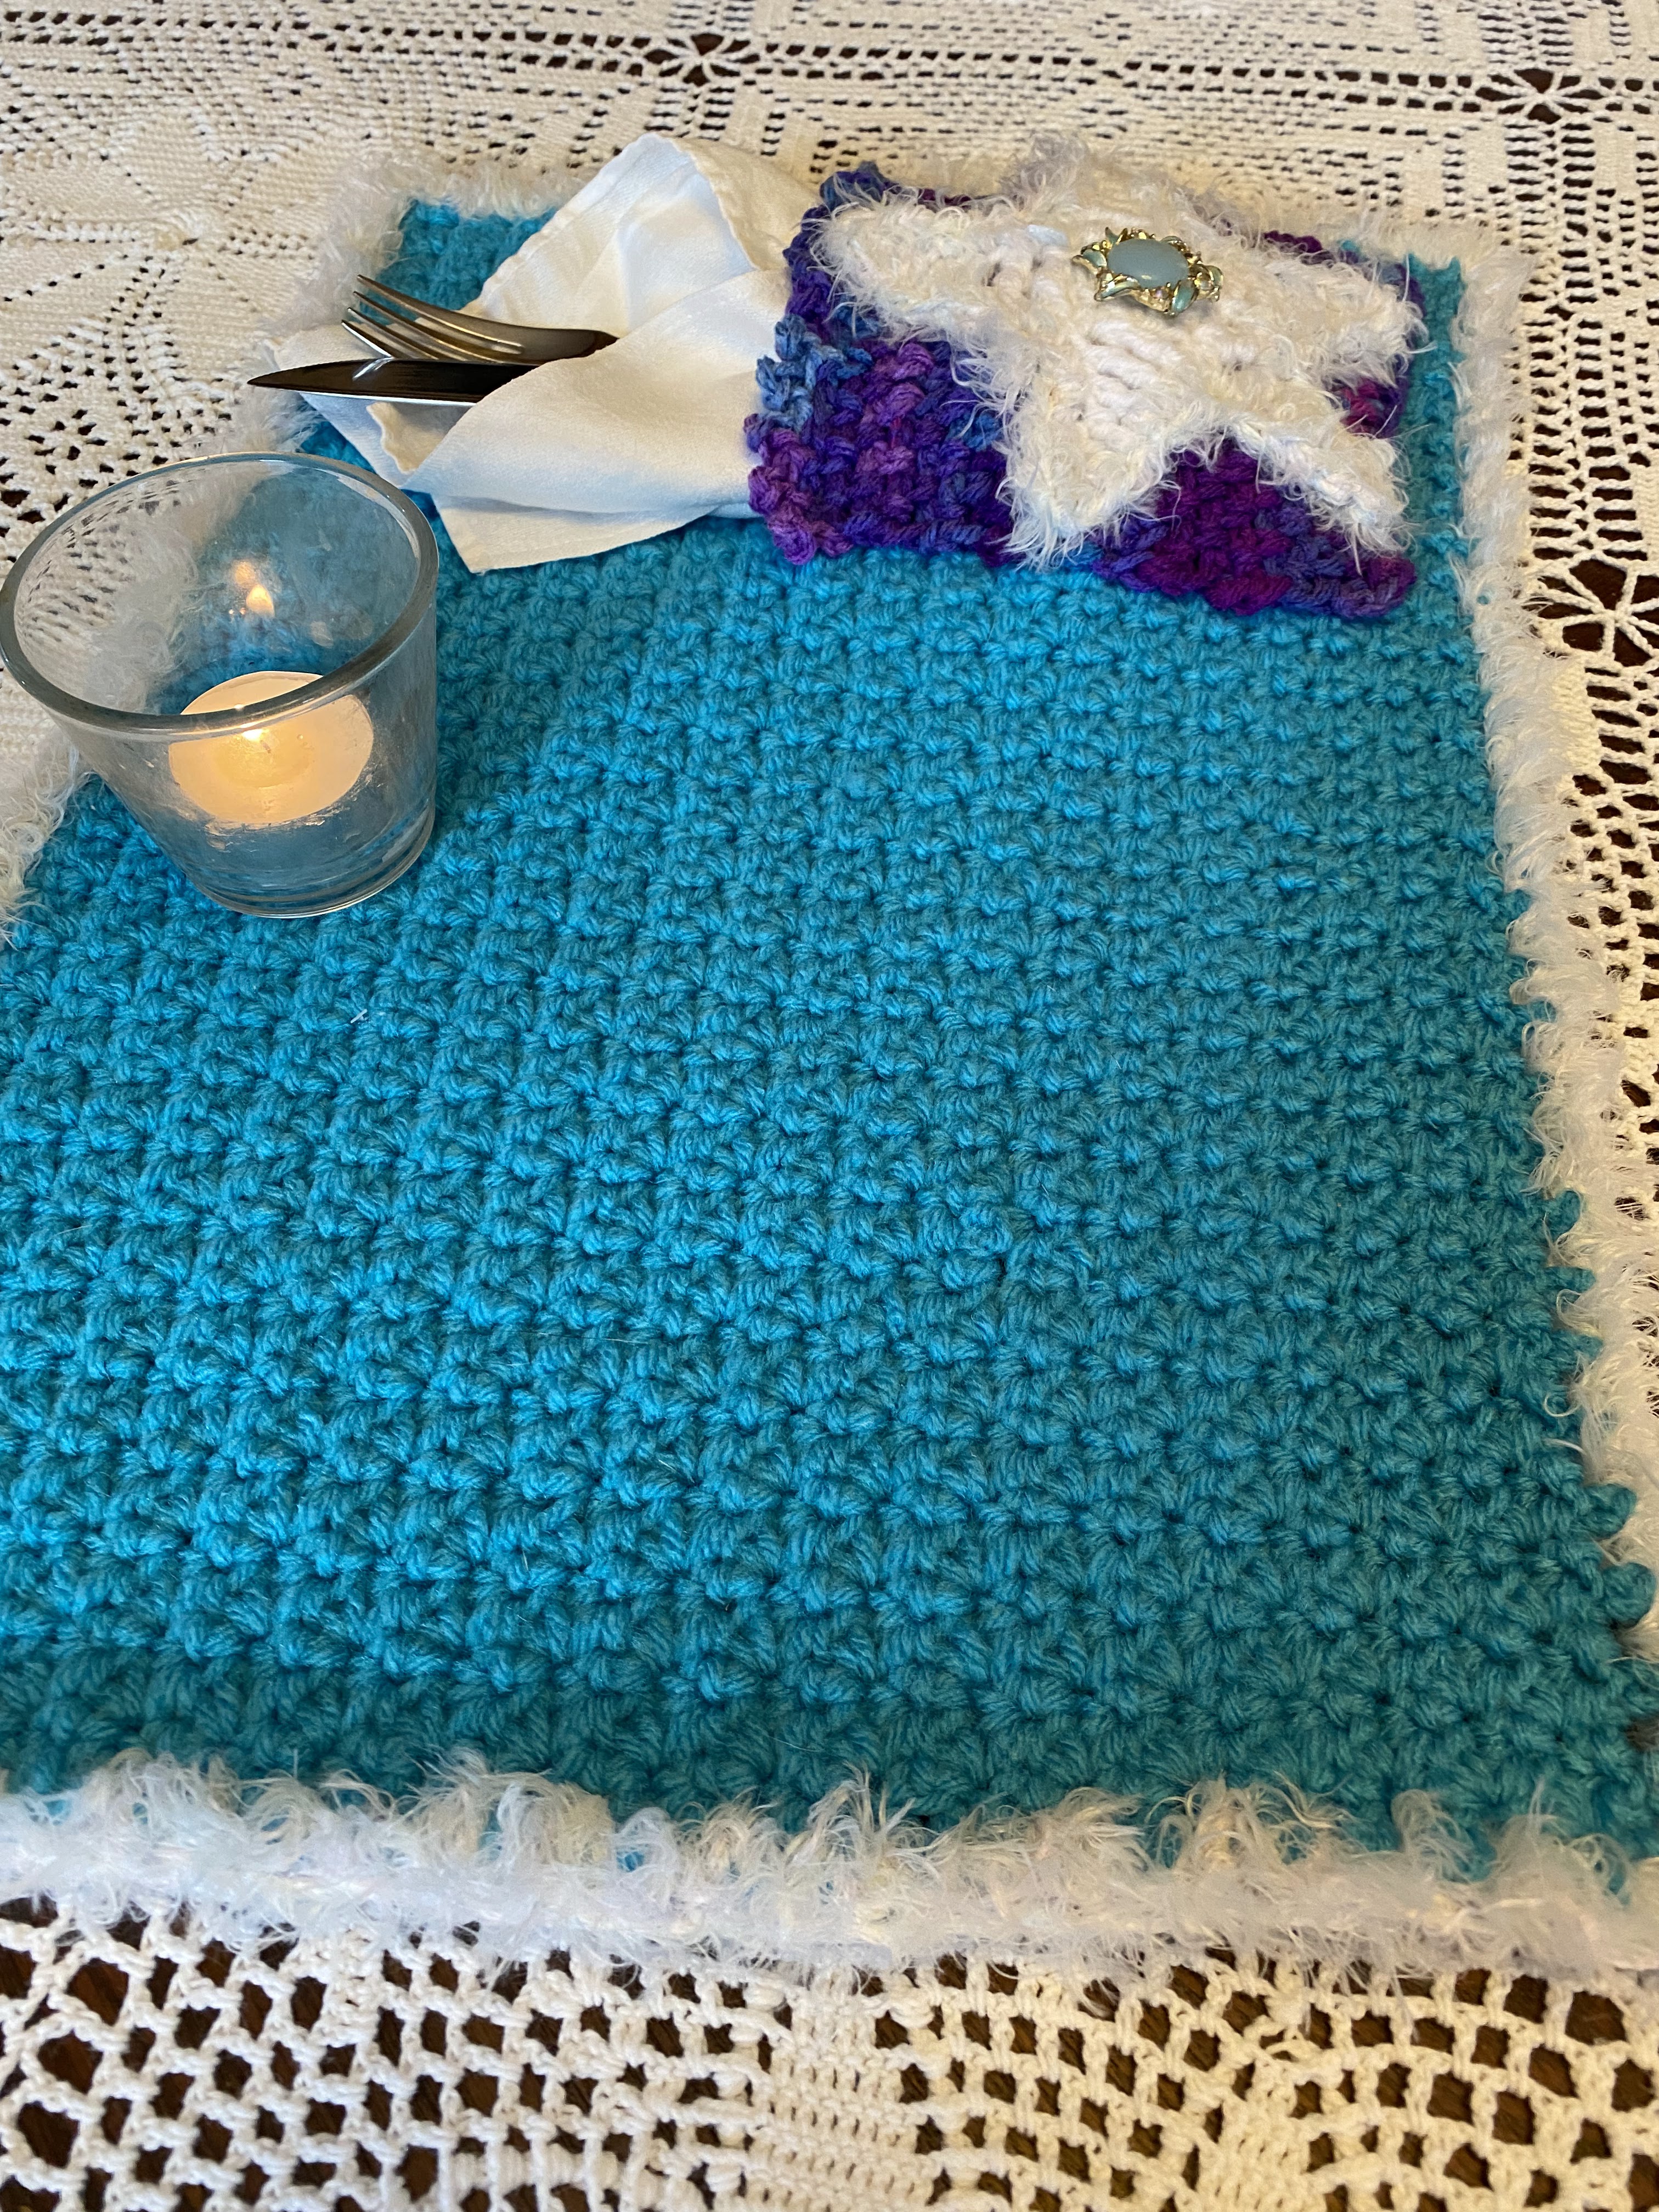
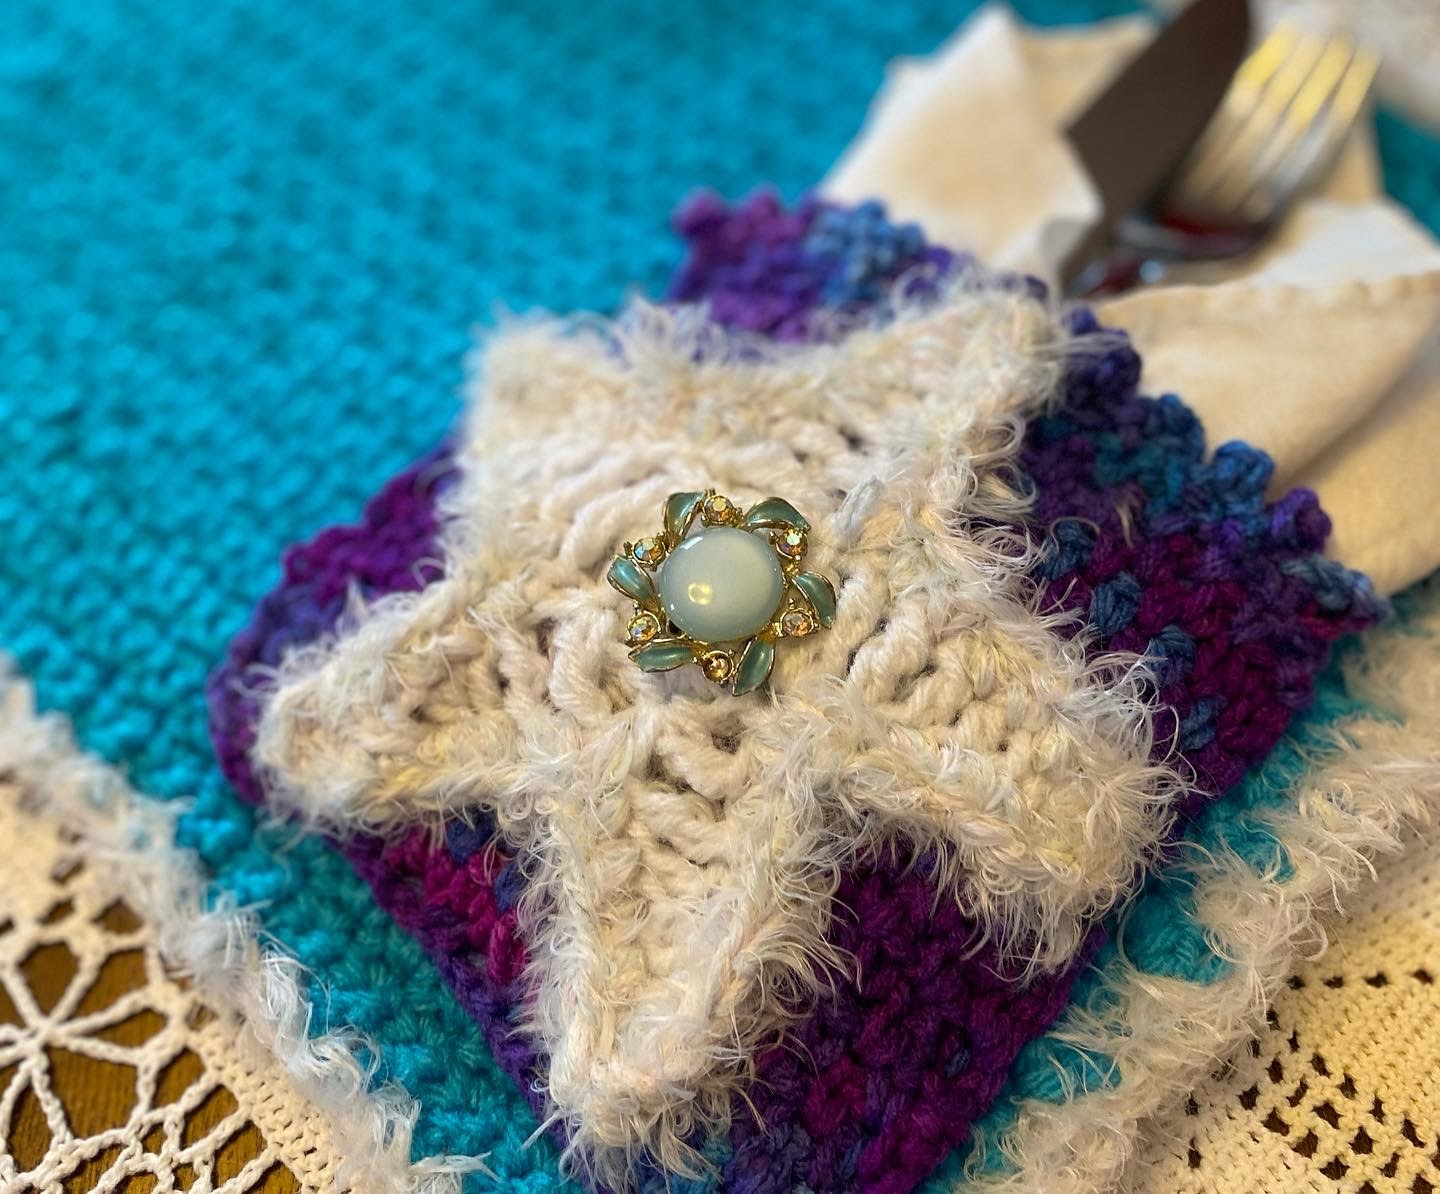
I named this pattern Sparkling Winter Star Placemat. I’m so happy with how it turned out! Every time I walk by it, I smile–I love the colors and I am reminded of its spiritual meaning.

I wanted to create a winter themed household item which expressed pride in my lineage and values as a Native American woman. I was inspired by a YouTube video, “We Come from the Stars” created by Dakota Sioux artist Marlena Myles, for We Are Water MN. The storytelling is by Astronomer, Jim Rock, who explains our beliefs in the connections we have with sky and earth. 

We believe we come from the stars and the earth. Once we walk on (pass away) we will return to the earth and our spirit will travel the Milky Way home to our relatives, if we have lived a good life. 

If you’ve read this far, thank you! But maybe, you are here for the free pattern? Nothing wrong with that! Everyone loves a freebie. I understand. I will warn you though, I haven’t had anyone test this yet. I just completed it last week. If you have any questions, you are welcome to email me at crochetatthelodge@gmail.com

Pattern for Sparkling Winter Star Placemat

Materials needed:

  • 4.5 crochet hook for placemat and napkin/utensil pocket
  • 3.5 crochet hook for border of placemat and star
  • Body of placemat–1 skein, Aran weight (4) yarn—I used Red Heart Super Saver, Turqua
  • Napkin/utensil pocket–small amount of Aran weight (4) yarn—I used Red Heart Super Saver, Grape Fizz
  • Star—small amount of Aran weight (4) yarn—I used Red Heart Super Saver, White
  • Border of placemat and star—I used a small amount of Lion Brand Tiffany, held triple, which unfortunately is discontinued. If you use a substitute, experiment with the number of yarns you’re holding. Lion Brand classifies this yarn as a sport weight or 3–which doesn’t seem quite accurate to me. If you hold a different sport weight yarn triple, it might be too bulky! I looked at YarnSub.com and they recommended the following: Trendsetter Yarns, Aura or King Cole, Moments. The Lion Brand Yarn website recommends using any nylon yarn with a weight of 3 or sport weight.
  • Star embellishment—Whatever you like! I used an old earring I found in a vintage shop. You could also use buttons. It looks just fine plain as well.

Abbreviations (US terms)

  • Ch—chain
  • DC—double crochet
  • FO—finish off
  • HDC—half double crochet
  • RS—right side
  • SC—single crochet
  • Sk—skip
  • Sl St—slip stitch
  • Tr—triple crochet

Placemat, worked in Alternate Stitch (multiple of 2 ch plus 2)

  • Chain 72 or whatever number of chains provides the width you desire. (Excluding the border, my placemat measures 14.5”.)
  • Row 1—sk 3 ch, 2 sc in next ch, *sk 1 ch, 2 sc in next ch*, repeat from * to the end of row. At end, ch 2 and turn.
  • Row 2–*sk first st, 2 sc in next st*, repeat from * until the end of the row. At end, ch 2 and turn.
  • Repeat row 2 until the placemat is the height you like. (Mine measures 11” and is 41 rows.) FO

Placemat border

 SC in stitches on the bottom and top of placemat and in the ends of the rows on the sides. For the corners, work 3 sc.

Napkin/Utensil Pocket, worked in Woven Stitch (multiple of 3 ch plus 3)

  • Chain 25 or whatever number of chains provides the width you desire. (My pocket measures 5.5″)
  • Row 1—sk 2 ch, 1 sc, *ch 1, sk 1 ch, 1 sc*, repeat from * until end of row. At end, ch 2 and turn.
  • Row 2—*1 sc in ch sp of previous row, ch 1*, repeat from * until turning ch. 1 sc in the turning ch sp. ch 2, turn.
  • Repeat row 2 until you reach the height desired. (Excluding the top border, my pocket is 5″ tall.) FO

Pocket Border, worked in the Looped Picot Edging Stitch

  • Ensure you are working on the RS of the pocket. (Your beginning yarn tail will be in the right, bottom corner.)
  • Top of pocket–Sl st in first st, *ch 4, sl st into first of these ch, sl st into next st, rep from * to end. FO

Star

  • Ch 2
  • Round 1—5 sc in 2nd ch from hook
  • Round 2—3 sc in each sc
  • Round 3—(1 sc in next st, ch 6, sl st in 2nd ch from hook, 1 sc in next ch, 1 hdc in next ch, 1 dc in next ch, 1 tr in next ch, 1 tr in base of starting sc, sk 2 sc ) 4 times, sl st in first sc to join, FO.

Star Border

SC in stitches around the edge of the star.  FO

Star Embellishment

Attach whatever embellishment you’ve chosen to the center of the star. Be creative and have fun with your choice!

Assemble

  • Applique or sew the star to the pocket. 
  • Sew the pocket to the placemat. I found a wonderful tutorial on how to applique or sew so your stitches do not show on the other side of your placemat on Hooked By Robin.

And you’re finished! One Sparkling Winter Star to adorn your table. I hope you enjoyed this pattern. Again, if you have questions, feel free to email me at crochetatthelodge@gmail.com.

Comfort Projects

I’m writing this on a Monday and considering how Mondays can sometimes be, I thought I would gather some of the most comforting patterns I’ve completed and pass them along. These are for the most part simple and can be worked on while watching a movie or show. (The Puffs and Picots Mandala might be a bit challenging to a new crocheter, but if you’re experienced it shouldn’t be a problem.)

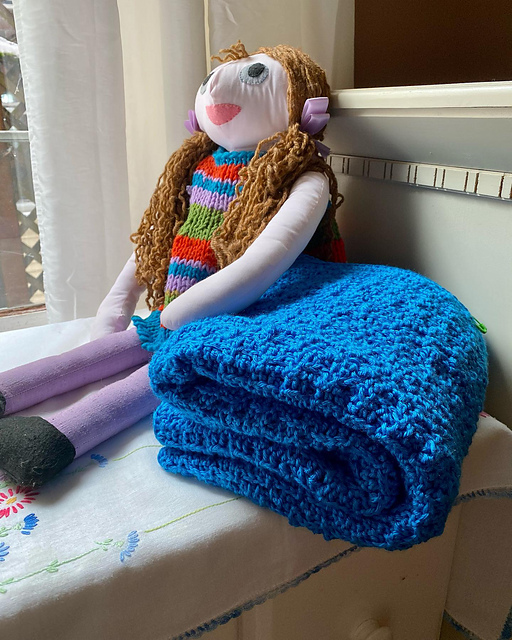
The Chrissy Baby Blanket (upper left photo) is something I completed last year when I was in a crochet funk. I was going through a period where every crochet project didn’t work out for one reason or another. (Kind of like what I’m going through now!) I decided to set all my WIPs (Works in Progress) aside and find something repetitive and not challenging. You can find the pattern in a booklet published by Annie’s Crochet titled Super Easy Baby Blankets by Bendy Carter. The only caveat to this pattern is you need to be willing to complete your HDC (half double crochet stitches) a bit differently and insert your hook at the “front bar” of the stitch, rather than the front and back loops where you normally would. There are detailed photos though. Once you get the hang of it, there aren’t any other pattern changes and you repeat row number 2 until the blanket is the desired size.

Snuggled next to a doll made by a dear aunt. Yarn: Caron Super Soft in Cobalt.

The next pattern, (middle top), the Picnic Basket Dish Cloth is a free pattern I downloaded from Knit Picks. If working in the front and back posts doesn’t bother you, the pattern is basically a two row repeat. And it is a quick, satisfying make. Probably the best thing about this project was the yarn, Dishie.

It is so soft and a pleasure to work with. I plan to buy this exclusively from now on for these type of projects. It’s cotton, but not like some of the rustic, hard on your hands, cottons that are sold for household projects. I’ve used and washed the dishcloths many times now and they are just as sturdy, squishy and pretty as the first time I made them.

Pattern by Kim Cameron for Knit Picks

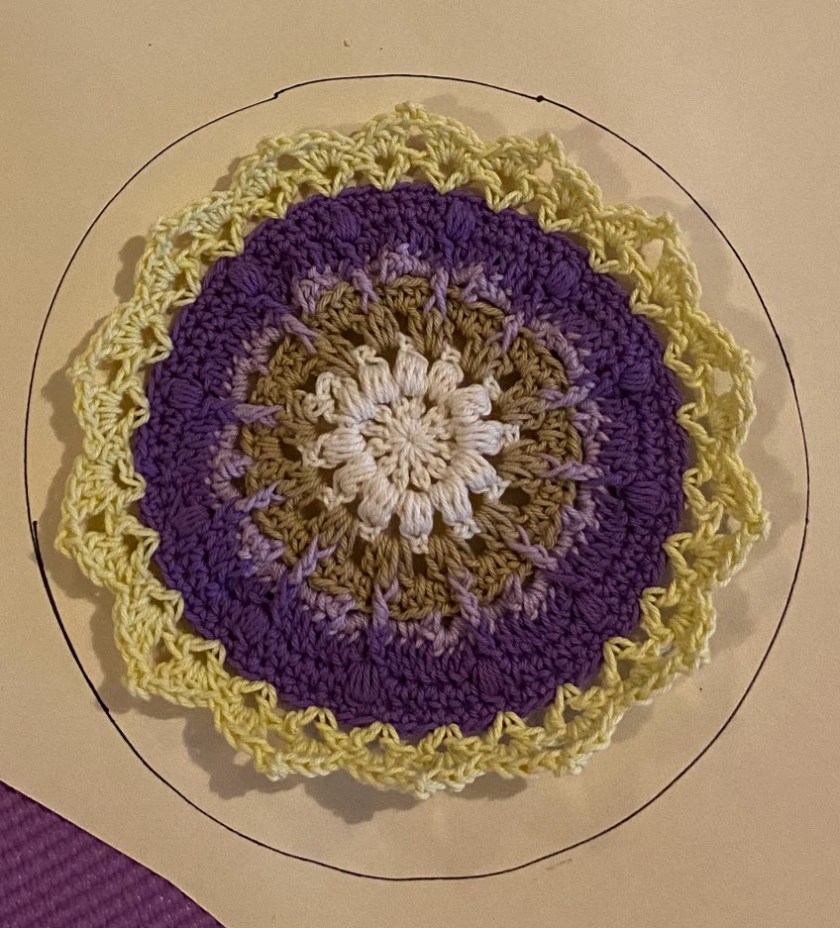
Last Christmas, my husband bought me the Modern Crochet Mandalas Book by Interweave. I wasn’t overly excited at first as I’ve never felt pulled to crochet a mandala. But, during the few lazy days after Christmas, I thought I would give it a go. Now, I see what everyone’s saying when they talk about how addictive crocheting mandalas is! The third picture on right end of the gallery is The Tapestry Star and Puffs and Picots by Sandra Eng. I loved them so much, I made two more of the Tapestry Star and will be posting all three on my Instagram once I connect them to hoops. Again, the yarn used in this project was part of what made it so pleasurable.

For the Tapestry Star, I used Bernat Softee Baby Cotton. It provides wonderful stitch definition and is soft and smooth. Very easy on the hands and the eyes. Equally wonderful were the Bonbons by Lion Brand Yarn, which I used for the Puffs and Picots mandala. They are tiny, adorable, 2.8 oz skeins. I used the Nature packet.

Making a template to block the Puffs and Picots Mandala.
Tapestry Star in progress.

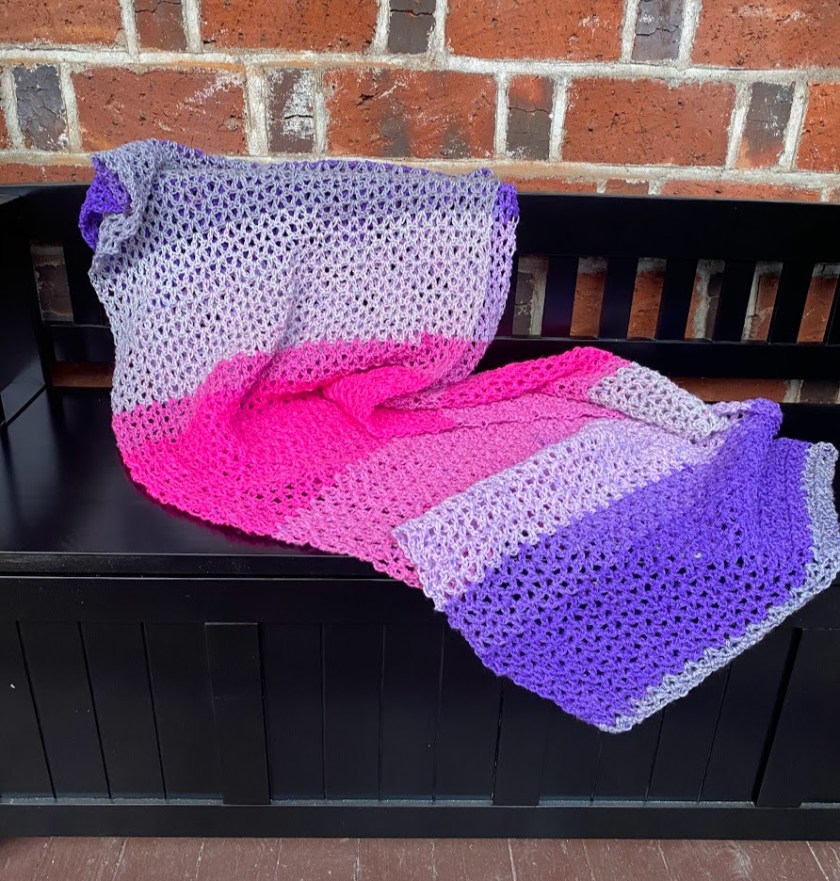
The last project pictured is the Casper Shawl, a free pattern from Lion Brand yarn. This is made with the V Stitch, which is essentially two double crochets in the middle of the V stitch below. The second row is repeated until you reach the desired length. So easy and relaxing! Again, I loved the yarn for this project. If you’re a follower of my Instagram account, you know I LOVE vibrant colors with purple being a lifelong favorite. I used Lion Brand Cupcake yarn in the color, Tutu Much. Sadly, this yarn has been discontinued. I see there are some still being sold through Etsy and Ebay though.

Wowza! Love those bold colors!

Well, that rounds out my list for right now and my Monday is almost done. Whew! Do you have some simple, soothing crochet patterns you could share? I would love to see what others have.

A Bit of a Vent—Dealing With Setbacks

At the beginning of the year, with that new-year-new-beginning feeling, I felt inspired to tackle some long-standing crochet WIPs (works in progress). I began by thinking about a trouble spot in my yarn room.

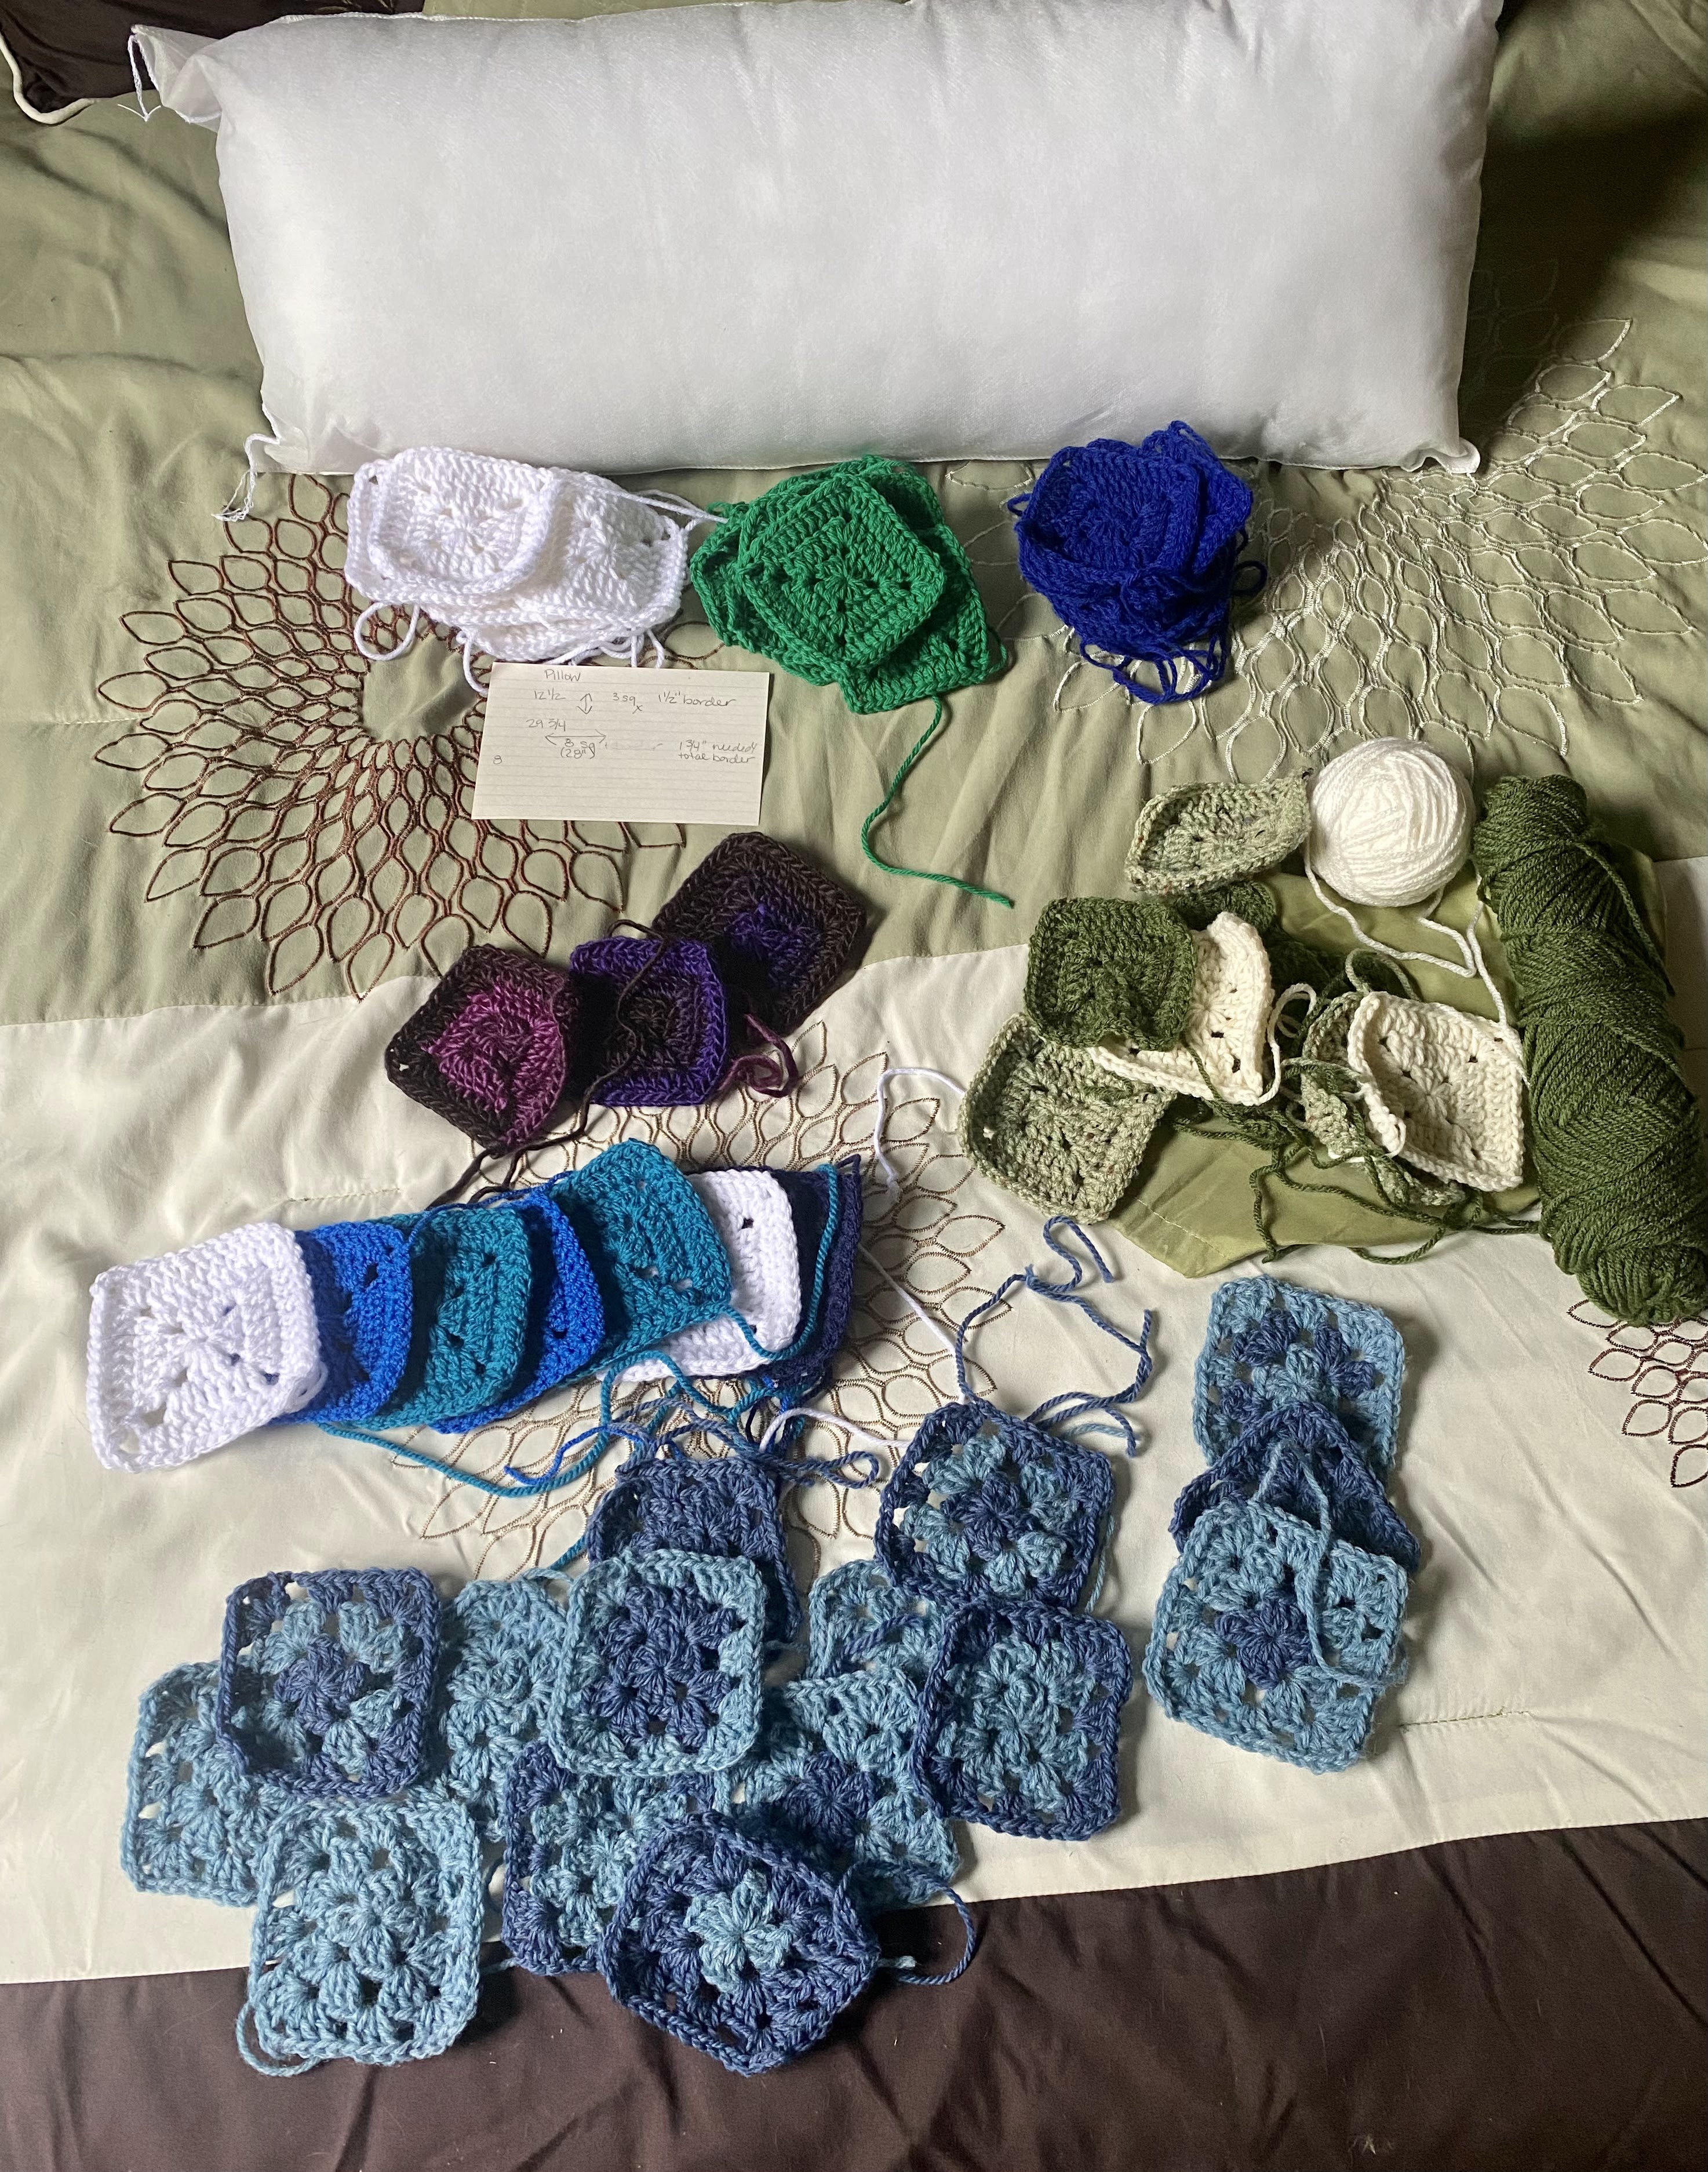
Orphan Granny Squares

This is a picture of some solid and traditional granny squares I crocheted from scrap yarn. I made them without any plan thinking I would just throw together something scrappy. Once I saw them together though, I didn’t like them. I know people make things with any scraps they have, but my perfectionistic side kicked in and there was no way I could conceive of going forward. I wound up doing nothing for months and the squares continued to clutter up the bed in my yarn room and make me crazy every time I saw them. My yarn room is supposed to be my happy place.

“Perfectionism is the voice of the oppressor, the enemy of the people. It will keep you insane your whole life.”

Anne Lamott, writer — Found on www.SaturdayGift.com by Cristina Morero

So, I was determined to do something, even if it was a mistake. I took a good chunk of the squares and made them into a nice pillow top. I am very happy with it.

I decided for the back I wanted to use up some fabric stash. I was excited about this because I have wanted to learn to meld crochet and fabric together. I did some research and discovered I needed to order a special type of crochet hook. Well…okay I can wait. And besides, I will have a new skill and a new crochet hook!

With the way shipping has been lately, I had to wait longer than I thought I would. It didn’t help I kept receiving inaccurate, cheery emails from the seller, “Your package will arrive tomorrow!” But I was determined to remain positive. After all, I was making progress on my WIPs and I was proud of my stick-to-itiveness. Finally, the day came when I got the package.

Okay! Now, I will pick a fabric from my stash—or so I thought. The pieces I wanted to use weren’t the right size. Ugh….  I really had my heart set on a particular fabric. Once again, I consoled myself—“Well, I can make a trip to the fabric store and that will be fun.” At least it did go off without a hitch and that was encouraging. Once home, I consulted the crochet hook instruction booklet and found I would need to do some simple zig zag stitching around the edge of the fabric to prevent fraying when crocheted to the pillow top.

I got my machine set up and began to stitch. But for some reason, my machine didn’t want to zig zag. I tried different settings and all it would do was a straight stitch. At this point, I started to sink and felt like there’s something working against me.

Being a mental health counselor, I am very good at seeing possibility though. So, once again I come up with a positive re-frame, “My little sewing machine needs servicing anyway. I haven’t done a thing to it in 30 years.” I looked up a local shop and faithfully lugged the little one in.

To my delight, they took only a few minutes to look it over, oiled it, and it began zig zagging! I wasn’t charged a penny! Hallelujah! I triumphantly brought my faithful craft companion home.

The next day, I decided to work on another long-term frustrating sewing project that a relative asked me to do. That’s a story for another time. The zig zag worked beautifully, and I made good progress on that project. But when I went back to the fabric for my pillow, depressingly, the zig zag function wasn’t working again.

And so, that’s where I’m at. I will need to make another trip to the repair shop if I want to continue. Meanwhile, the squares, albeit joined, are still just sitting there, making me crazy. I’ve run out of re-focusing and re-frames to say to myself. I could crochet a pillow back, but that really isn’t what I want.

I guess it wouldn’t be so bad if this were the only project I experienced such bad luck, but I’ve experienced long setbacks with almost everything I’m working on lately. Truthfully, it makes it very hard for me to feel motivated or confident I can finish anything. Sometimes, it’s just hard to power through.

Interestingly, I remember feeling this way at about the same time last year. I don’t know if it has to do with the lower energy I experience during wintertime or not. The way I dealt with it then, was to pick up something simple and repetitive. It helped, but I am loathe to add more projects to the WIP pile at this point.

As I am writing this, this is the phase of the 3rd quarter moon. I’ve become more interested in pairing my energy and focus based on the cycles of the moon. I’ve wanted to do this for a long time and so, I bought the book Moonology by Yasmin Boland. This is what she has to say about the influence of the 3rd quarter moon, “Although we might feel tired during this part of the cycle, this is no time to stop or rest on our laurels. There’s tension at this time: a result of the hard angle between the egotistical Sun and the emotional Moon. … This is also a very good time to break bad habits.” The message here for me is to find the courage to try again and get the machine fixed. I need to let go of the expectation (ego) that a project will be done by a certain time. In the past, I would have just started something else (emotion). But I want to break the bad habit of creating more and more projects for myself when I have so many in progress. In the short term, I feel some relief trying something new, but in the long run, that’s just one more thing on the WIP pile.

That reminds me, I think I wrote about something similar in my last blog post—Anything worth doing won’t be simple. Sometimes, it’s annoying as you know what, but in the end, the finished piece is more precious to us. And so, I keep on.

Have any crafting war stories you would like to vent about?

Favorite and Not-So-Favorite Projects of 2021

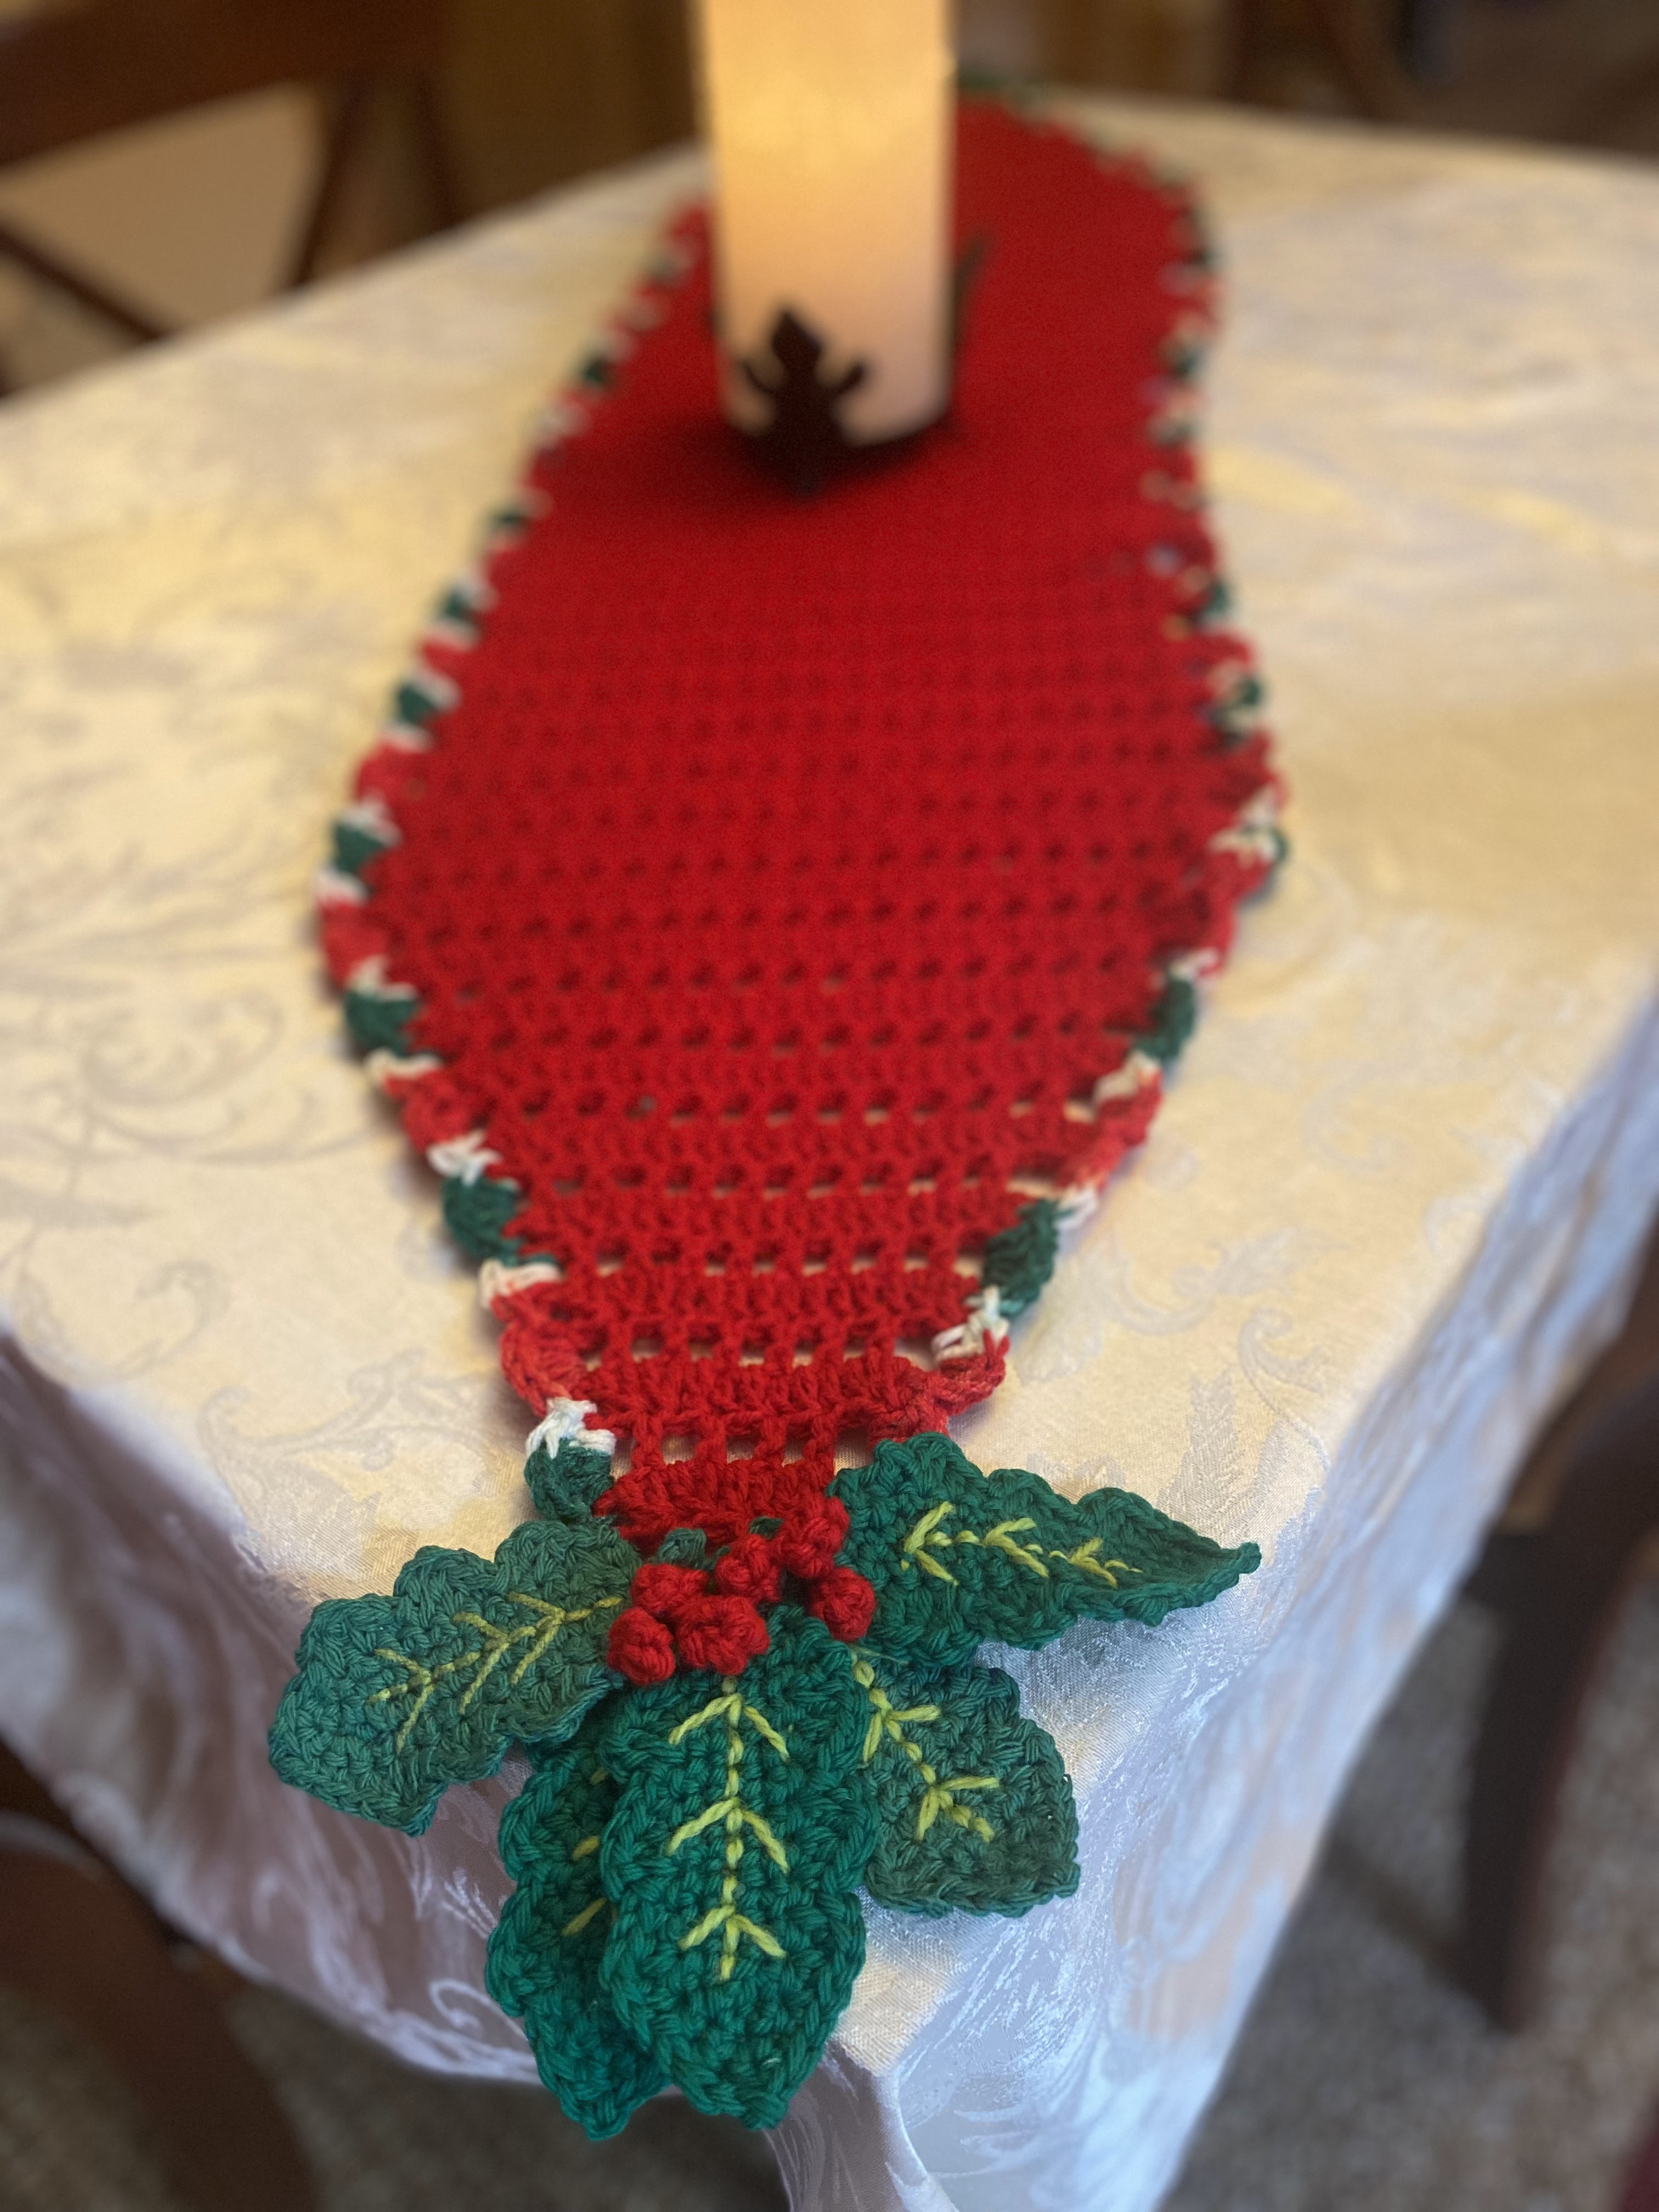
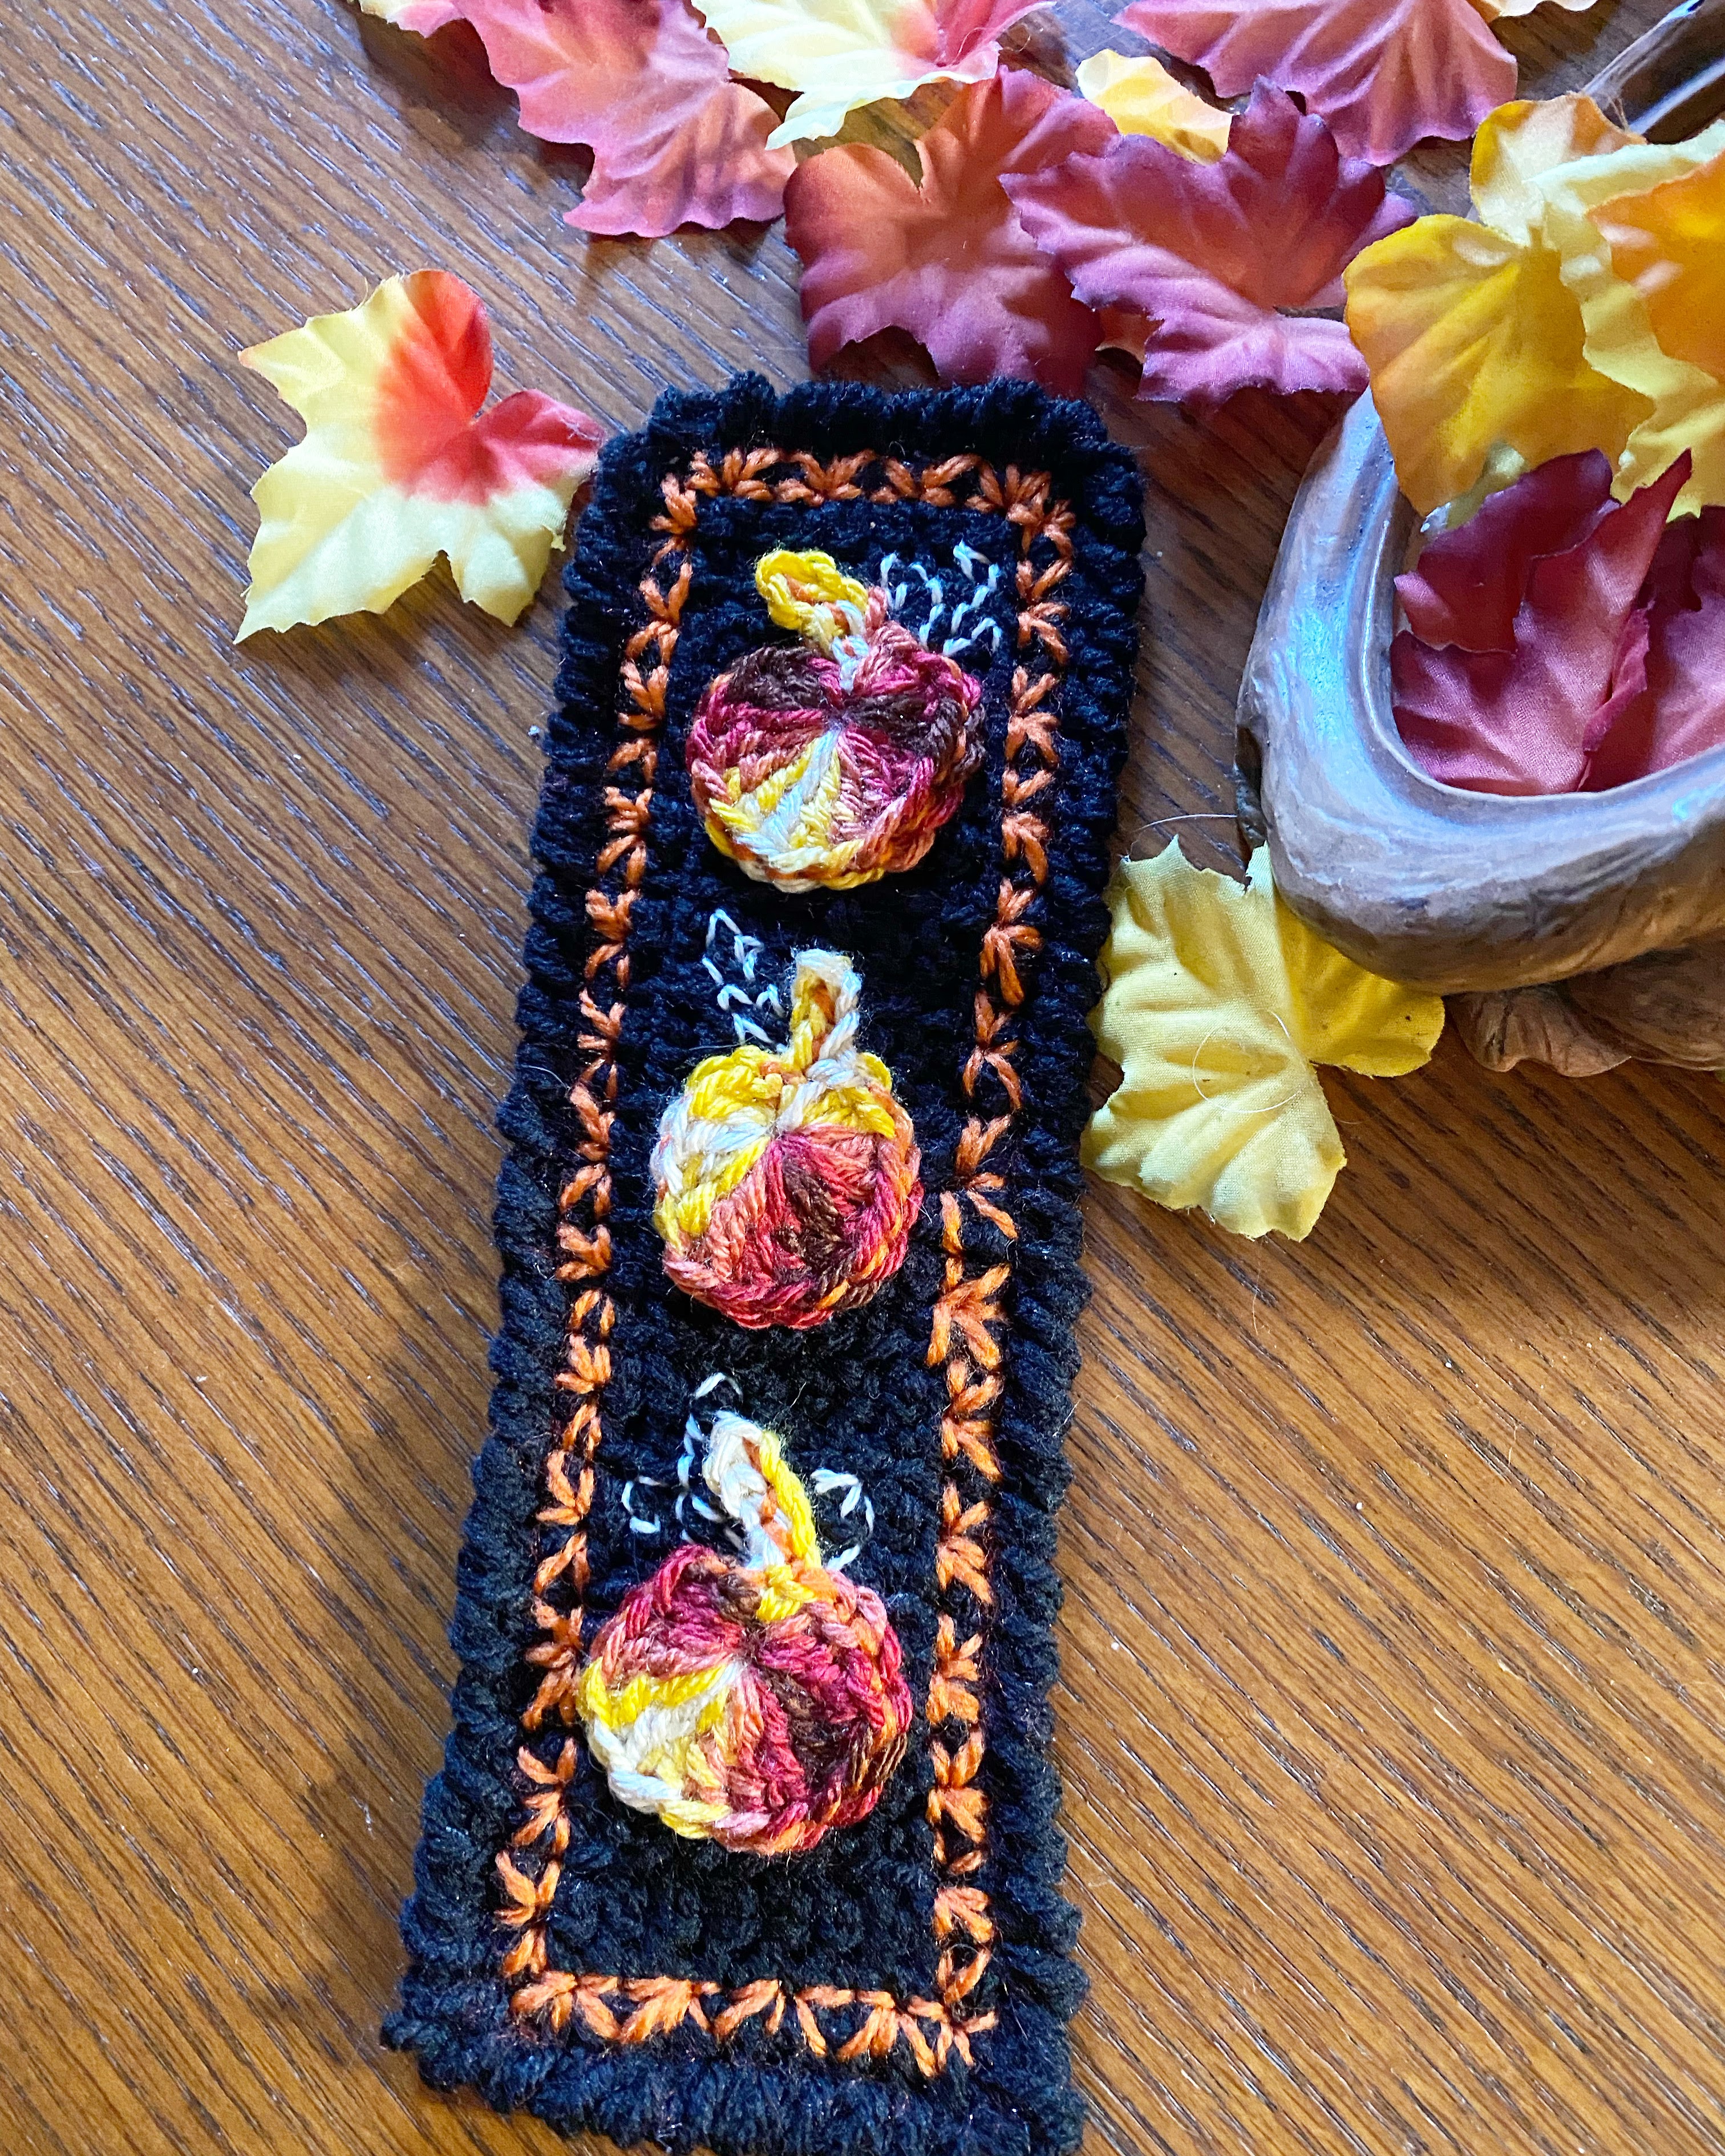
Photo credits (left to right) Holly Trim Table Runner by Michelle Wilcox for Yarnspirations; Pumpkin Bookmark by me; (Photo collage--starting at top left corner and going clockwise) Granny Keep Warm Cowl by Sandra Paul/Cherry Heart Designs Blog; Granny Stripe Blanket by me; Picot Headband by Ali/The Turtle Trunk; Zipper Pouch by Caroline/Kandou Patterns; Granny Scarf by me; and Ivy Cowl by Natalia Kononova/Outstanding Crochet

I am not the best at reflecting on the projects I’ve completed to discover what I liked/disliked or what worked and what didn’t. As a fan of astrology, I tend to think it has something to do with being an Aries. Aries are great at starting and moving forward. I just want to get going and keep going! Rams see their objective and keep hammering away–sometimes fruitlessly……But this year, the images from my Instagram account have helped. The pictures are such a good memory jog. Here are the takeaways grouped by surprises and not-so-surprising.

Surprising

  • Frustrating projects can be a good thing. Or anything worth doing is hard. (Paraphrased from Theodore Roosevelt.) In my group of favorites, there are two projects I started and had to frog or rip out multiple times–the Ivy Cowl and the Zipper pouch.

The Ivy Cowl is the hardest crochet pattern I have ever completed. It is not a pattern you could casually follow while watching television. Each row is filled with a variety of stitches and it’s very easy to lose your way. At one point I did almost give up. But I have been striving to be better at finishing what I start. Plus, I was obsessed with the look of this pattern.  I am so proud about how mine looks. 

The Zipper pouch took almost a year. I would get really discouraged and have to set it aside. I think I ripped it apart at least 3 times because I’m rubbish at zippers. There was some extra lining I had to do too, because the flannel wasn’t substantial enough. I had to have things my way and not use the suggested fabric. This caused more frustration and steps. But I so admire the project bags people show off on Instagram and I wanted to make at least one for myself. Also, the project was important to me because I wanted to upcycle from my stash of worn out or little used clothing and household items. I am a big believer in using what you have and reducing waste. For the pouch, I used my husband’s old work pants to line it and his old jeans on the bottom half. I also used some light curtain material to plump up the flannel panel (remnant I bought at Joann’s) on the top of the bag. I use this pouch for my crochet hooks and it is one of my most beloved accessories for crochet. 

  • I actually like my own designs or experiments and sometimes others do too: The Pumpkin Bookmark and the Granny Stripe Throw. 

You would think that as a Mental Health Therapist, I would have self-esteem problems whipped. Sadly, no. My self-doubt holds me back from more projects and ideas than I care to admit. A few times this year, I gave that critical narrative a push back. 

For instance, the Granny Stripe Throw, was a yarn stash busting project. When I lined up all the colors I wanted to use up, I thought, “This will look awful.” But, I really wanted to give it a go because of my admiration for others’ scrappy blankets on social media. Once I saw the finished piece, I was still dubious. However, I went ahead and posted it to Instagram because if nothing else, I wanted to honor the hours I put into it. I was so shocked when Yarnspirations messaged me and asked if they could use it for their social media post! I realized how overly critical I had been. Someone else found worth where I didn’t.

The same stinky self doubt was keeping me company when I put together my little Pumpkin bookmark. I was experiencing a good impulse to play with yarn, but it was nearly drowned out by the domineering thought that if I don’t use a pattern, I will make some awful mistake. (Really? I mean so what?!) Once I finished, I was truly surprised to be happy with it and posted it to social media. It received a good number of likes, which dispelled the ridiculous “No one will like it.”

Not So Surprising

Other takeaways

  • Send a donation rather than start a project you don’t love. When I start a project because I’m trying to support a designer or small business, and not because I’m in love with the project, I can know it will hang around, unfinished, for awhile. I really don’t like a bunch of unfinished projects in my yarn room. It creates a mood of obligation and I sigh every time I see it. This isn’t what I want for my happy place. I think I will send the designer a donation instead. 
  • I completed about 27 projects this year. I say about because I didn’t photo document all of them.
  • I don’t like custom commissions. I did one and it was a pain. I undercharged for the amount of time it took me to make it.  If it’s something I already made or the customer has a straightforward pattern without changes–that could be alright.

Conclusion

I enjoyed this reflection. It was easier and more pleasurable to undertake with the use of photos. I appreciated learning some valuable lessons that will make my crafting more meaningful and waste less materials. I guess I can see why this process is useful. *wink*

How was your year and what are some takeaways for you?